

Configuring Alarms
The Alarms module allows users to monitor, filter, acknowledge, and export alarms generated by configured device points. It provides various filtering and management options to help users quickly identify and respond to alarm conditions.
Opening the Alarms Module
-
Navigate to the Alarms module from the sidebar or the main menu.
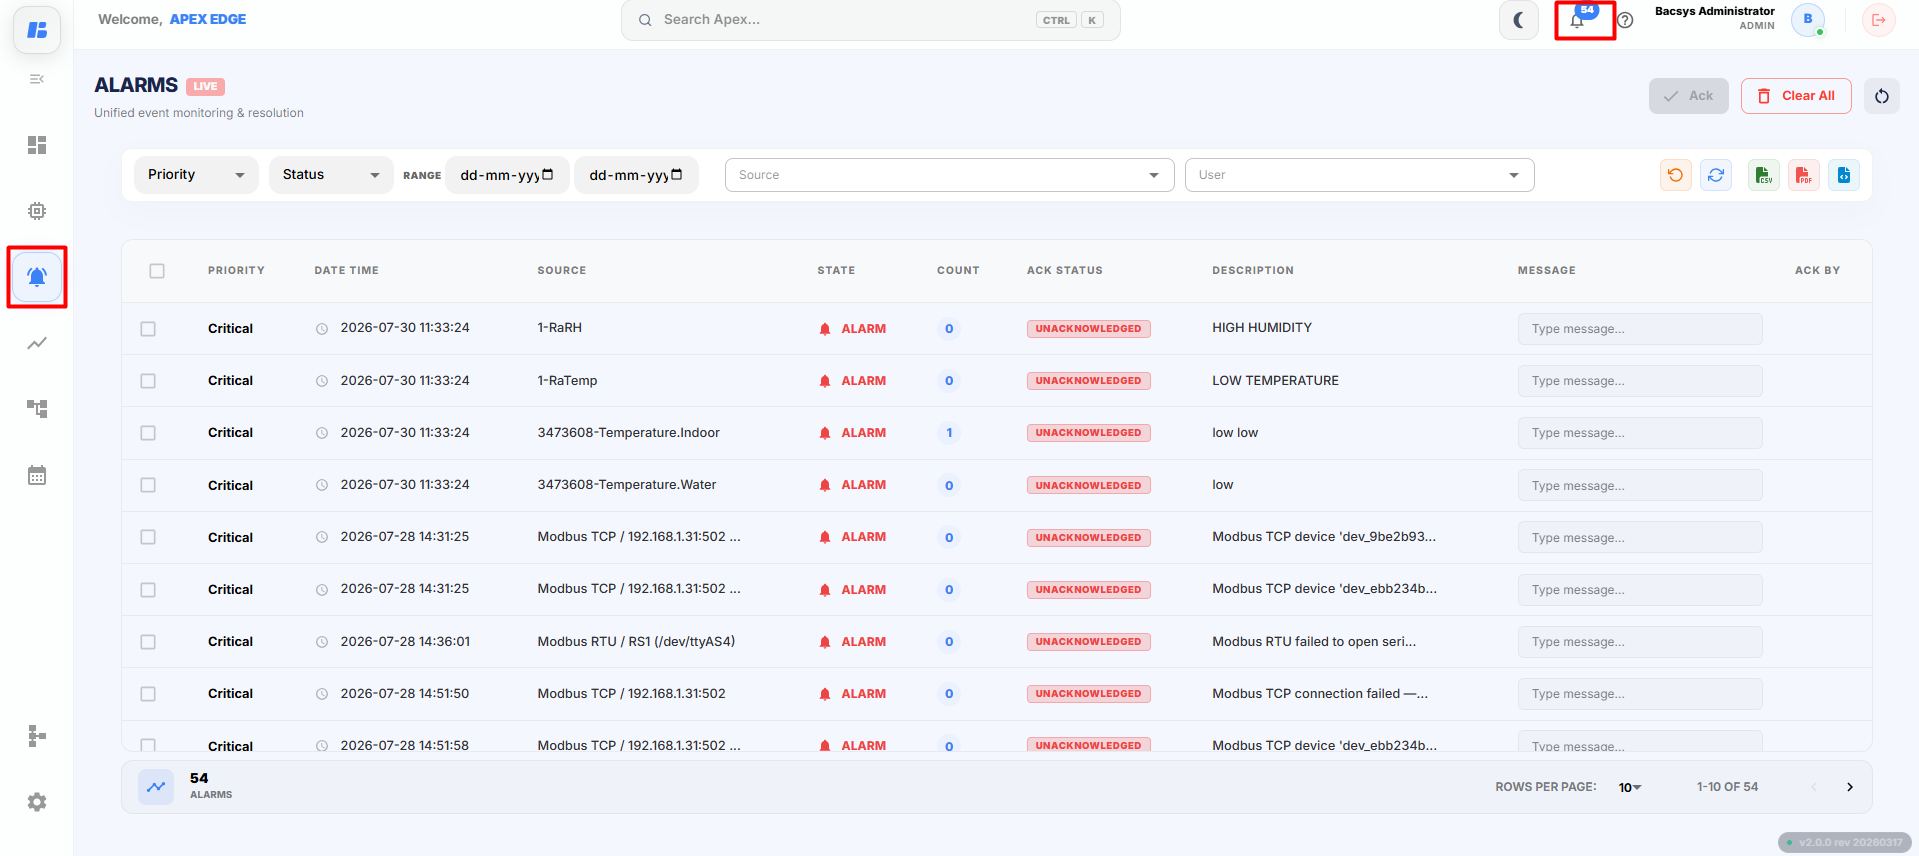
The Alarms page opens and displays all alarms generated by the configured device points.
Each alarm includes information such as:
- Alarm Priority
- Acknowledgment Status
- Alarm Source
- User
- Date and Time
- Alarm Message
Filtering Alarms
The Alarms module provides multiple filters to quickly locate specific alarms.
A. Priority Filter
The Priority filter allows you to display alarms based on their severity.
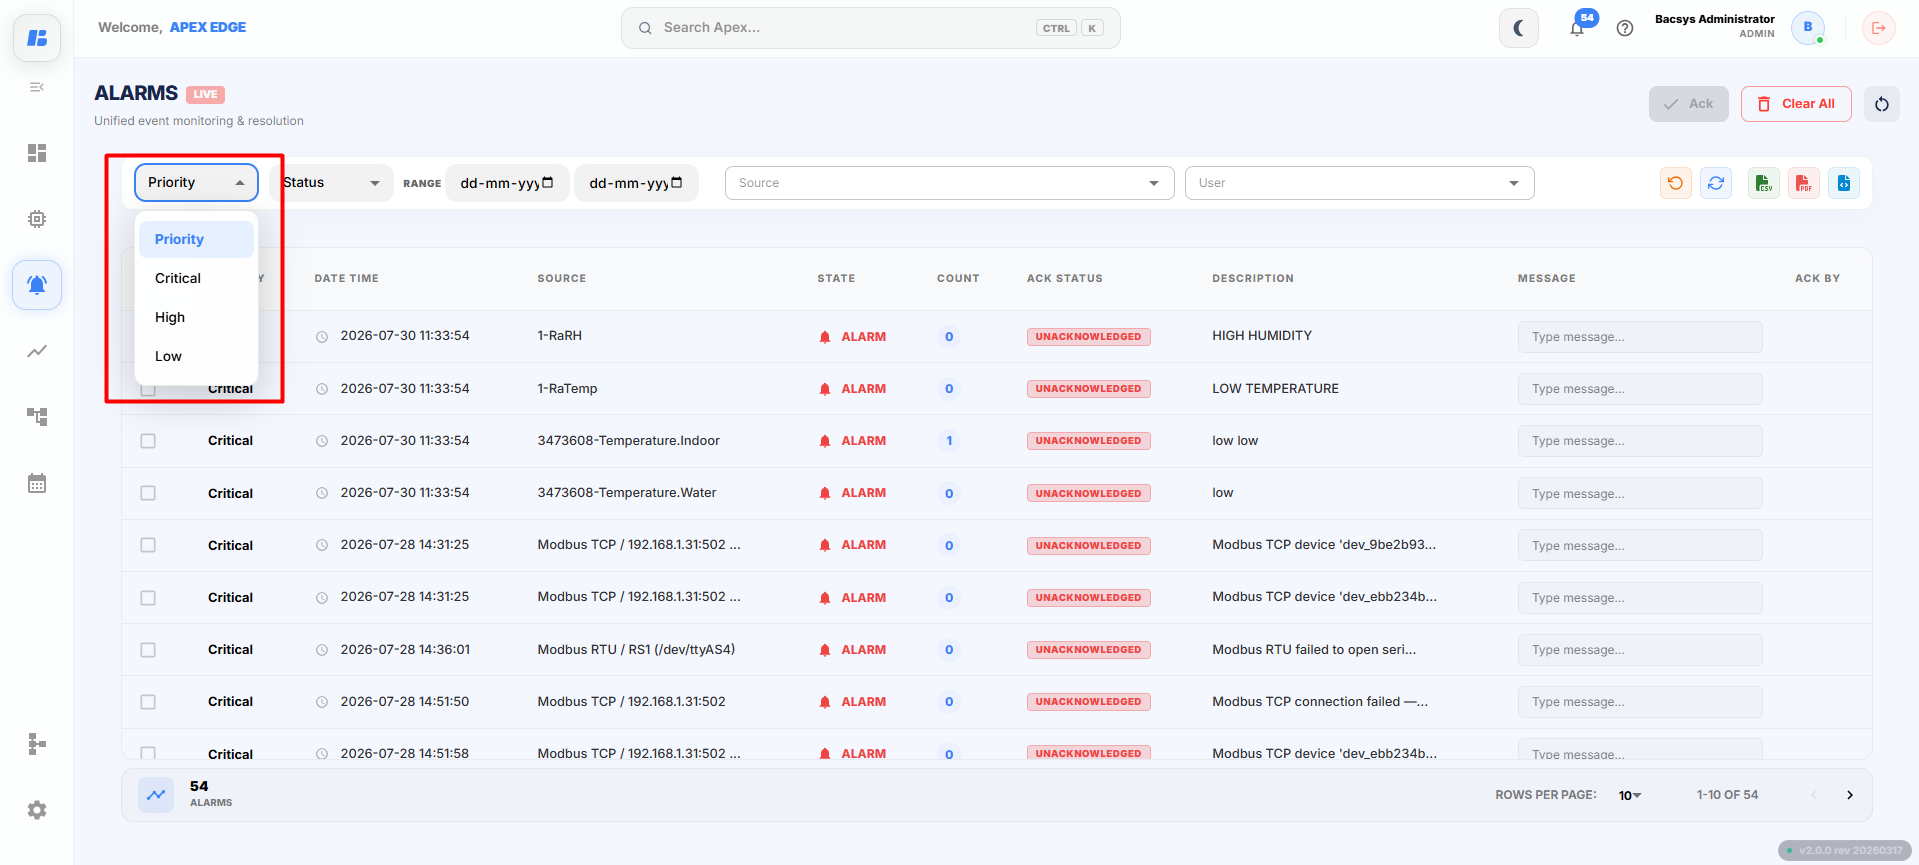
Available priority levels are:
| Priority | Description |
|---|---|
| Critical | Displays alarms that require immediate attention. These alarms indicate serious conditions that may affect the system or equipment. |
| High | Displays important alarms that should be investigated as soon as possible. |
| Low | Displays informational or minor alarms that can be reviewed during normal operation or maintenance. |
Steps
- Click the Priority dropdown.
- Select one or more priority levels.
- The alarm list is automatically filtered based on your selection.
B. Acknowledgment Status Filter
The Ack Status filter displays alarms based on whether they have been acknowledged.
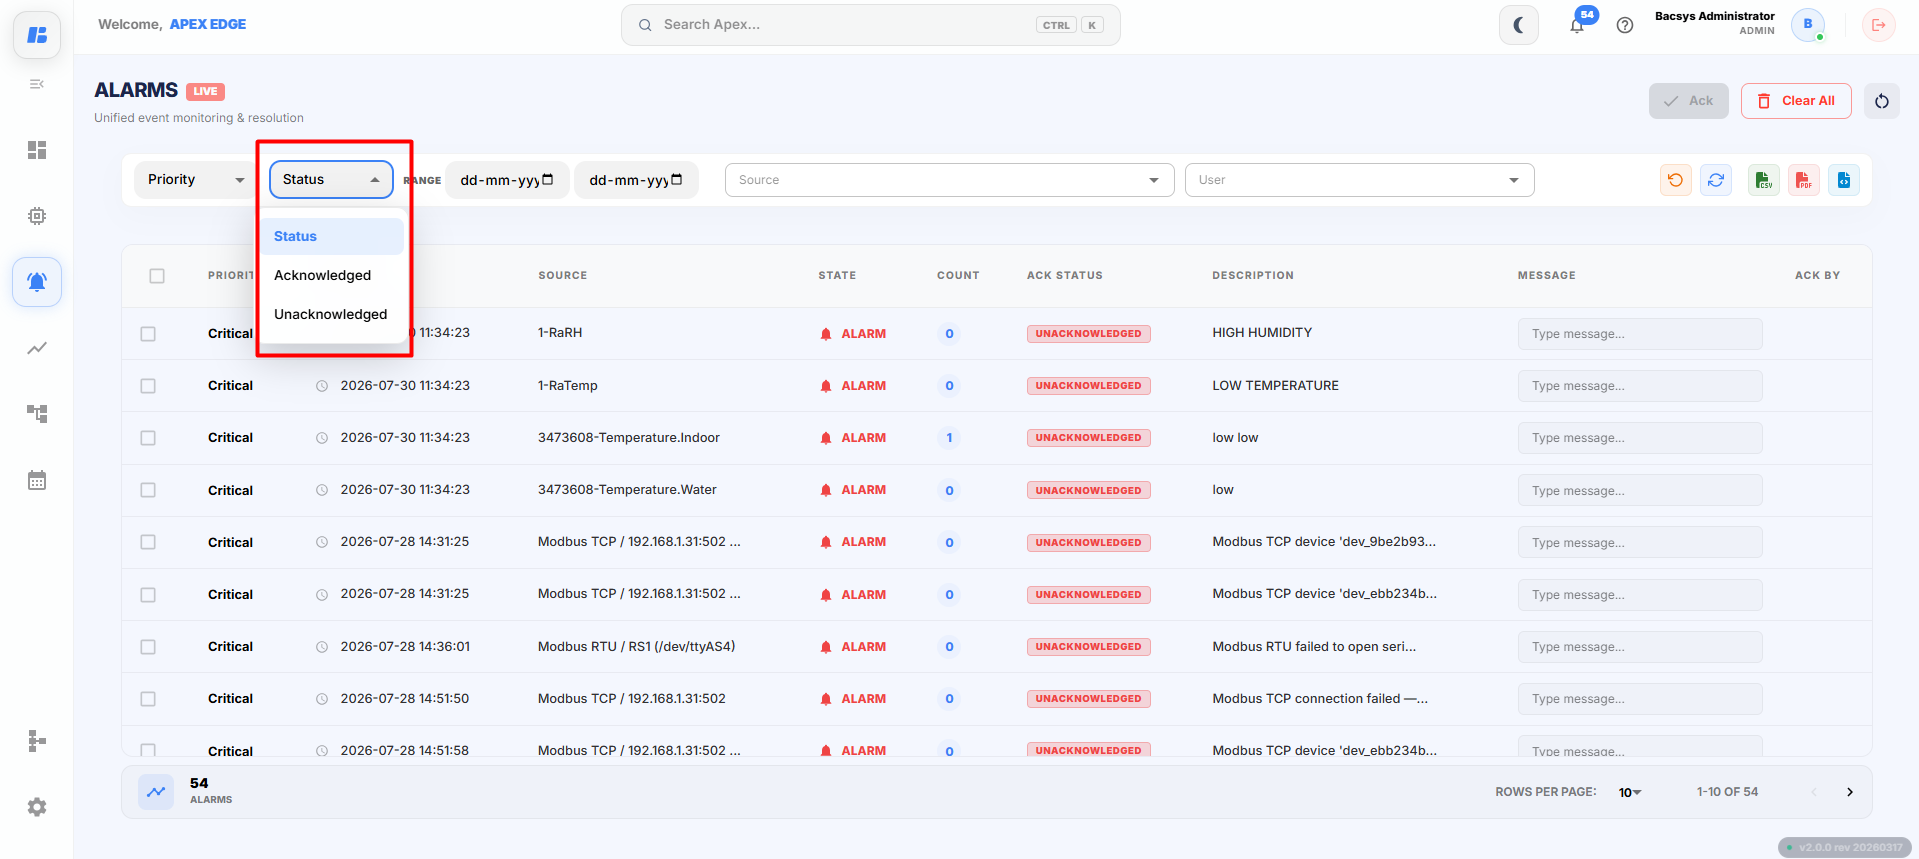
Available options are:
| Status | Description |
|---|---|
| Pending | Displays alarms that have not yet been acknowledged by a user. |
| Acknowledged | Displays alarms that have already been acknowledged. |
Steps
- Click the Ack Status dropdown.
- Select Pending or Acknowledged.
- The alarm list updates automatically.
C. Date Range Filter
The Date Range filter allows you to display alarms generated during a specific period.
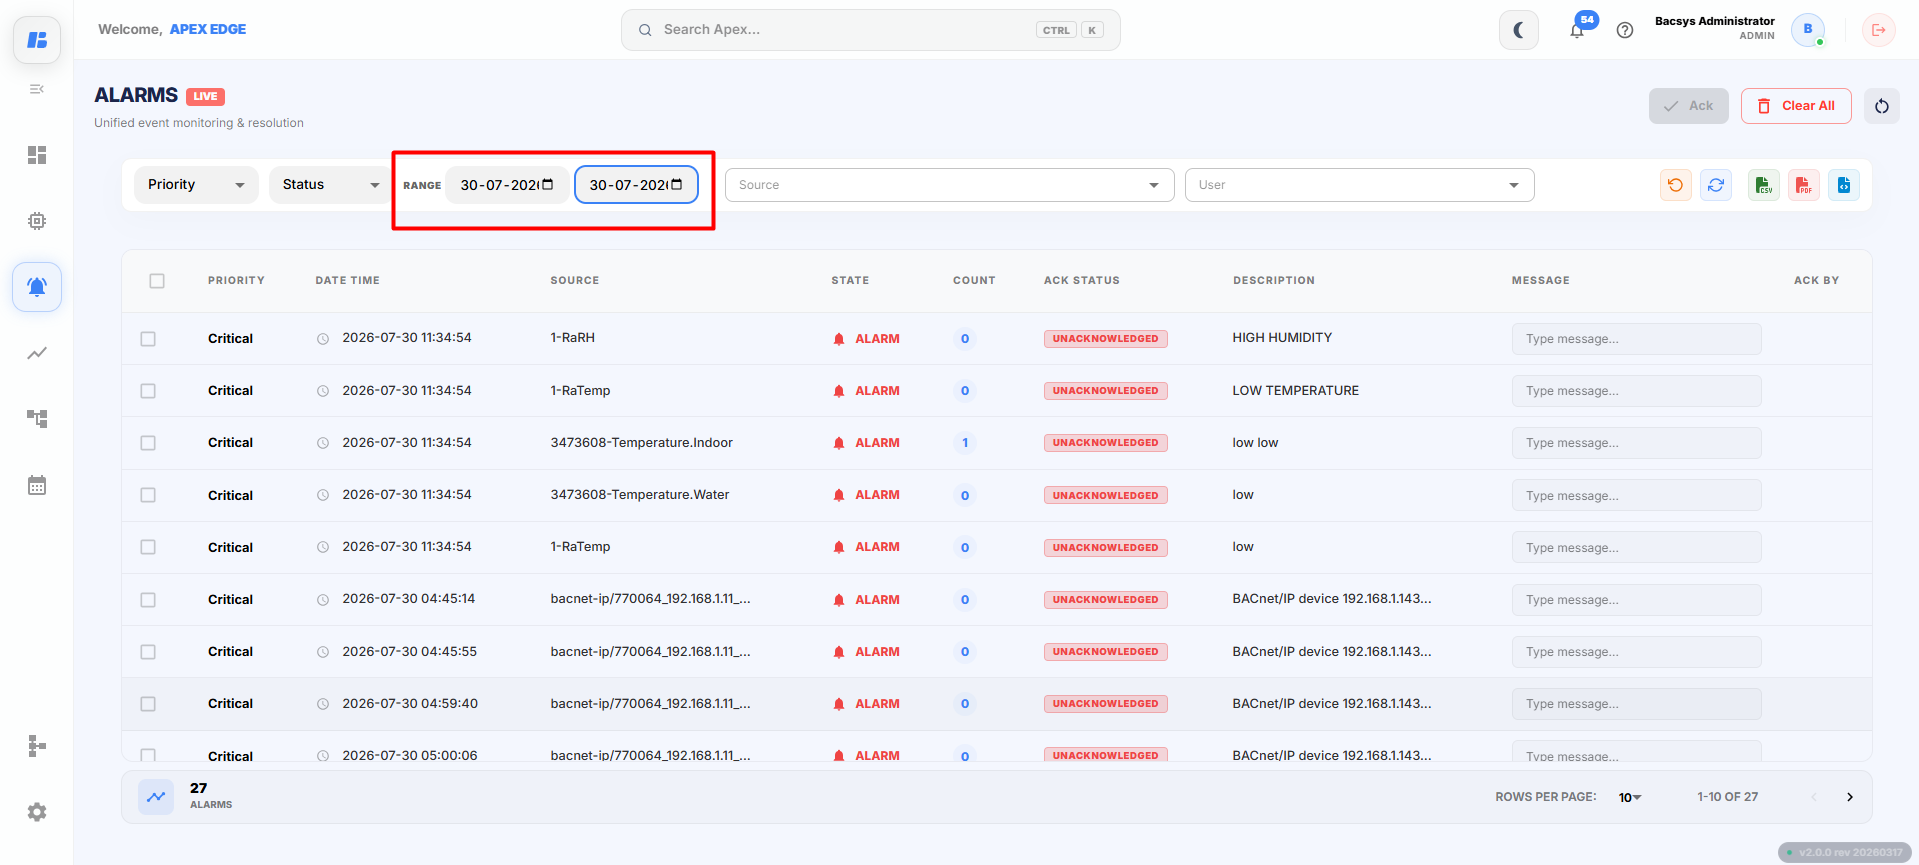
Steps
- Select the Start Date.
- Select the End Date.
- The system displays only the alarms generated within the selected date range.
This filter is useful when reviewing historical alarms.
D. Source Filter
The Source filter allows you to display alarms generated by a specific network, device, or point.
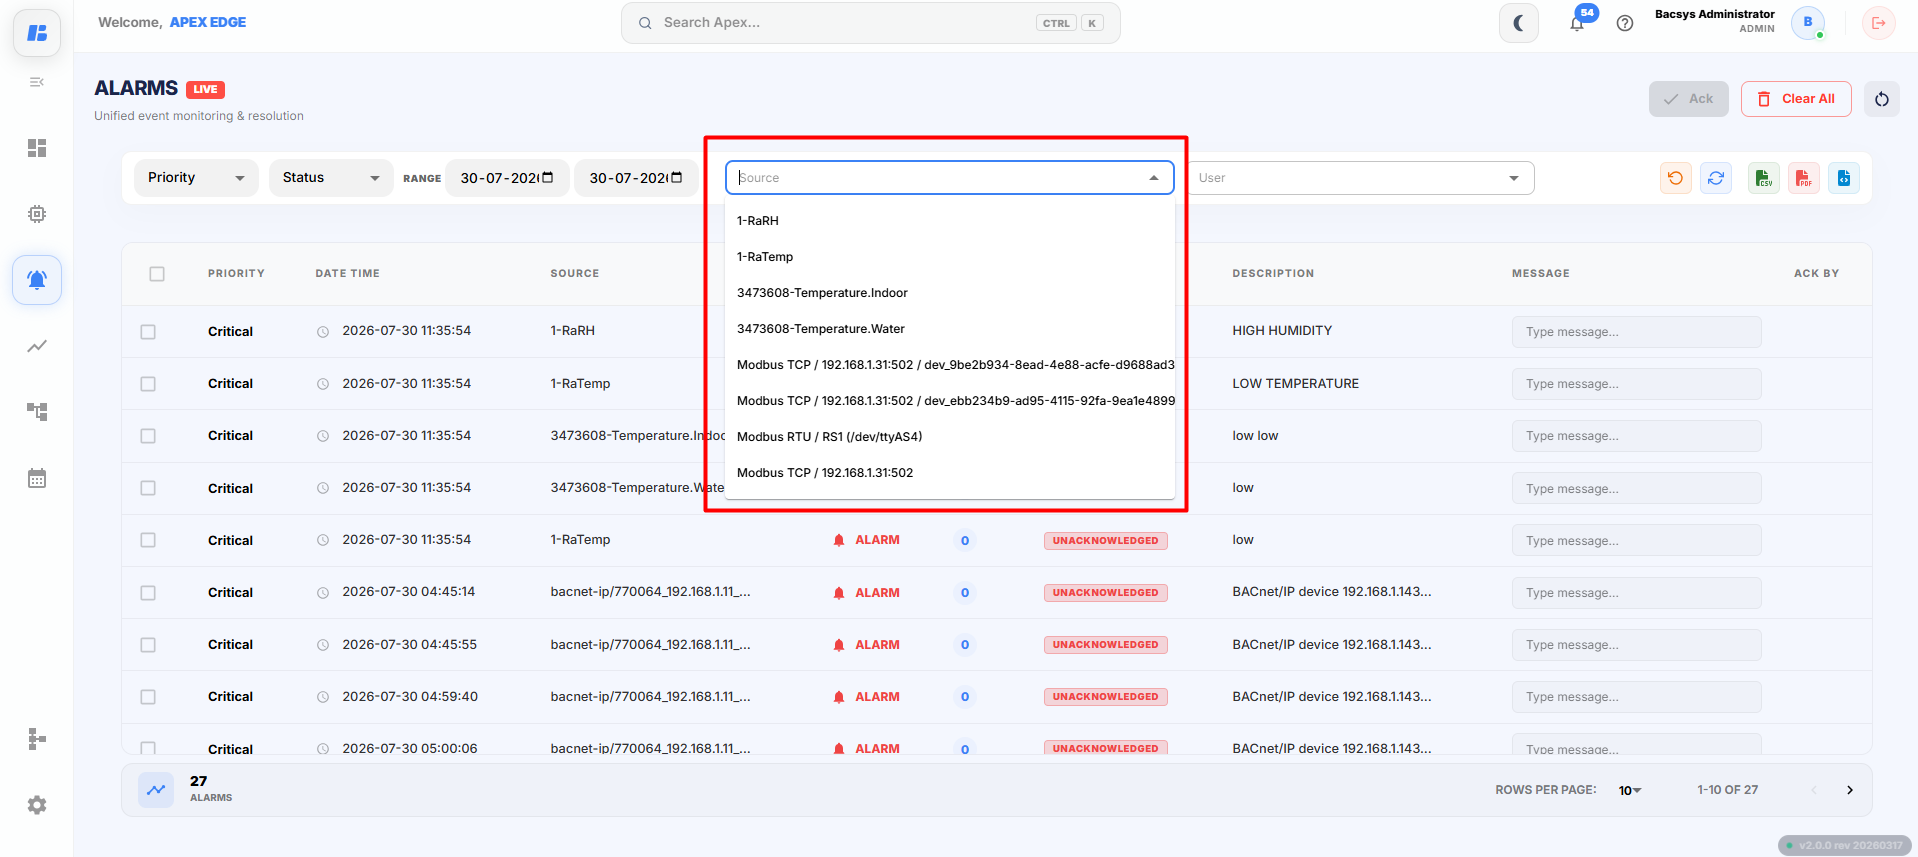
Steps
- Click the Source field.
- Enter or search for the required device or point.
- Select the required source.
Only alarms generated by the selected source are displayed.
E. User Filter
The User filter displays alarms associated with a particular user.
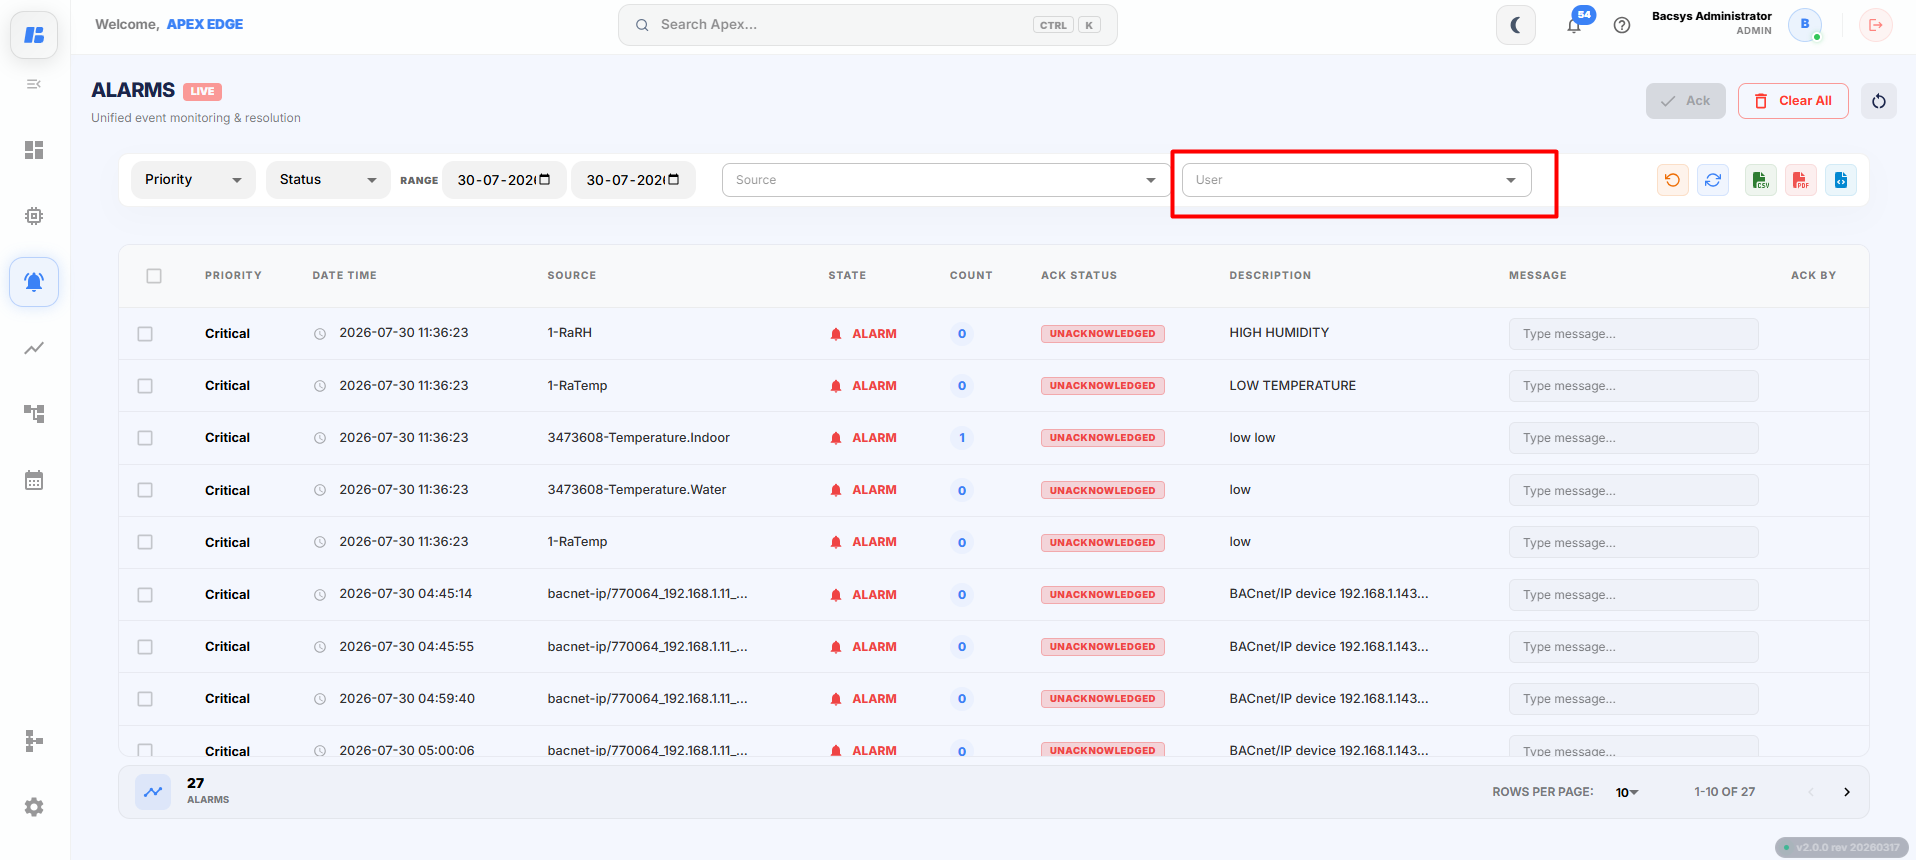
Steps
- Click the User filter.
- Select the required user.
The system displays alarms that are associated with the selected user, including alarms acknowledged by that user.
Alarm Management Actions
The toolbar provides several actions for managing alarms.
Refresh Alarms
The Refresh button retrieves the latest alarm information from the server.
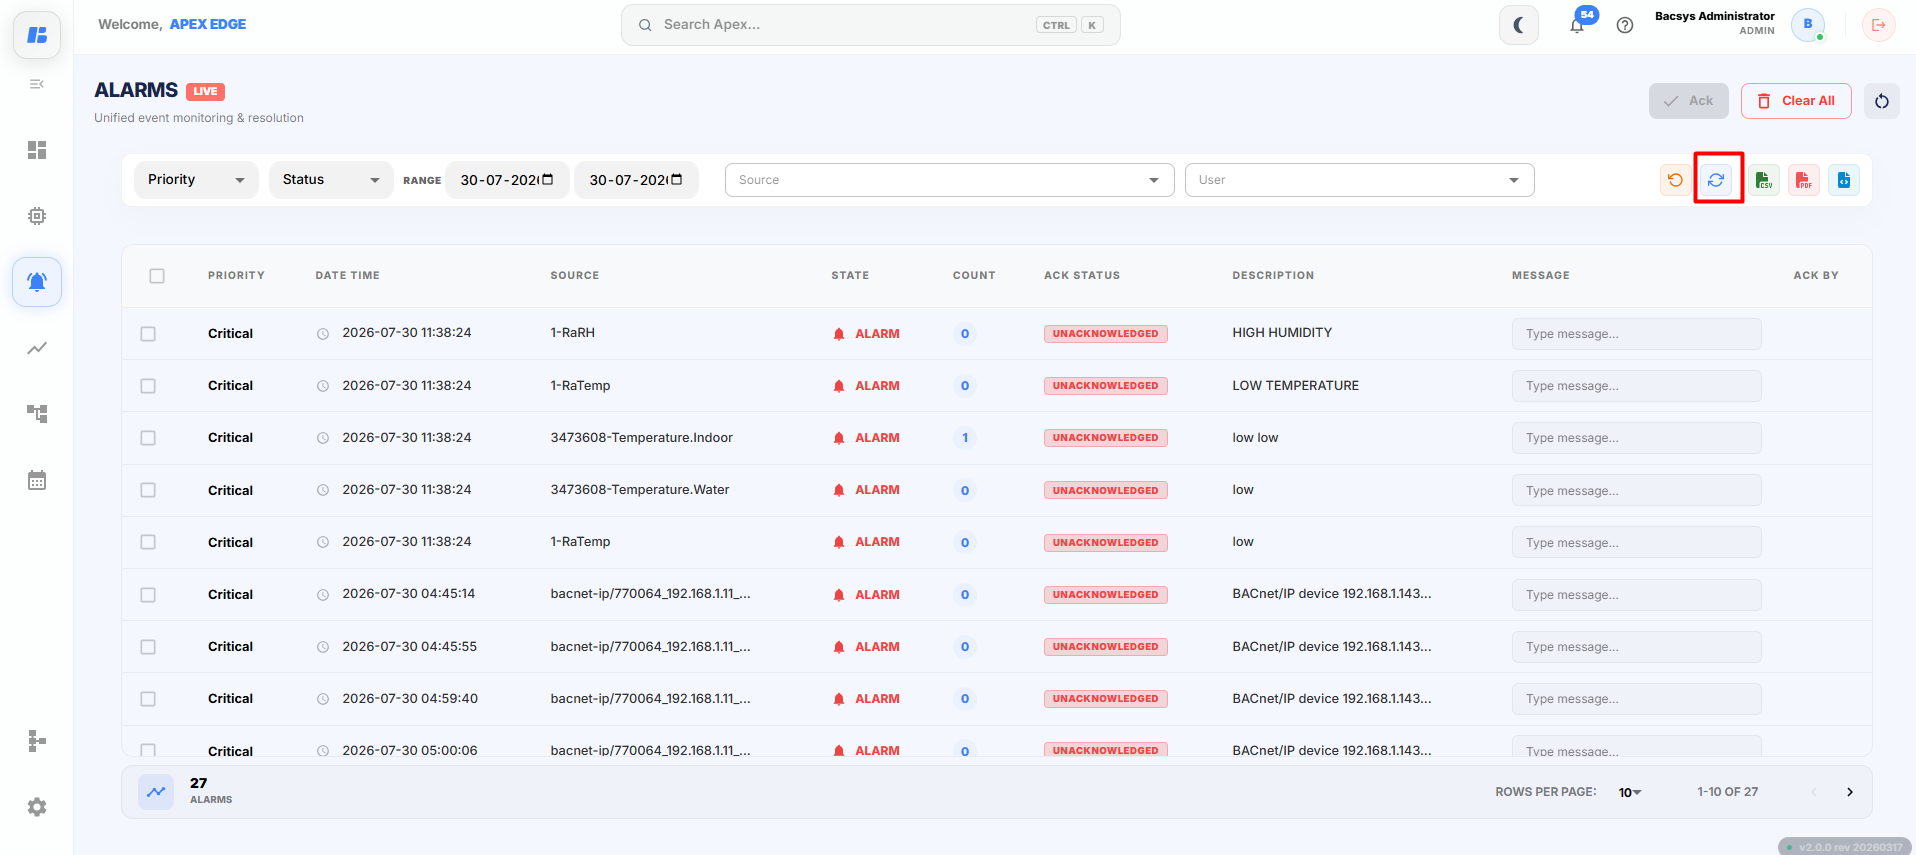
Steps
- Click Refresh.
- The alarm list is updated with the latest alarms.
Reset Filters
The Reset Filters button removes all applied filters.
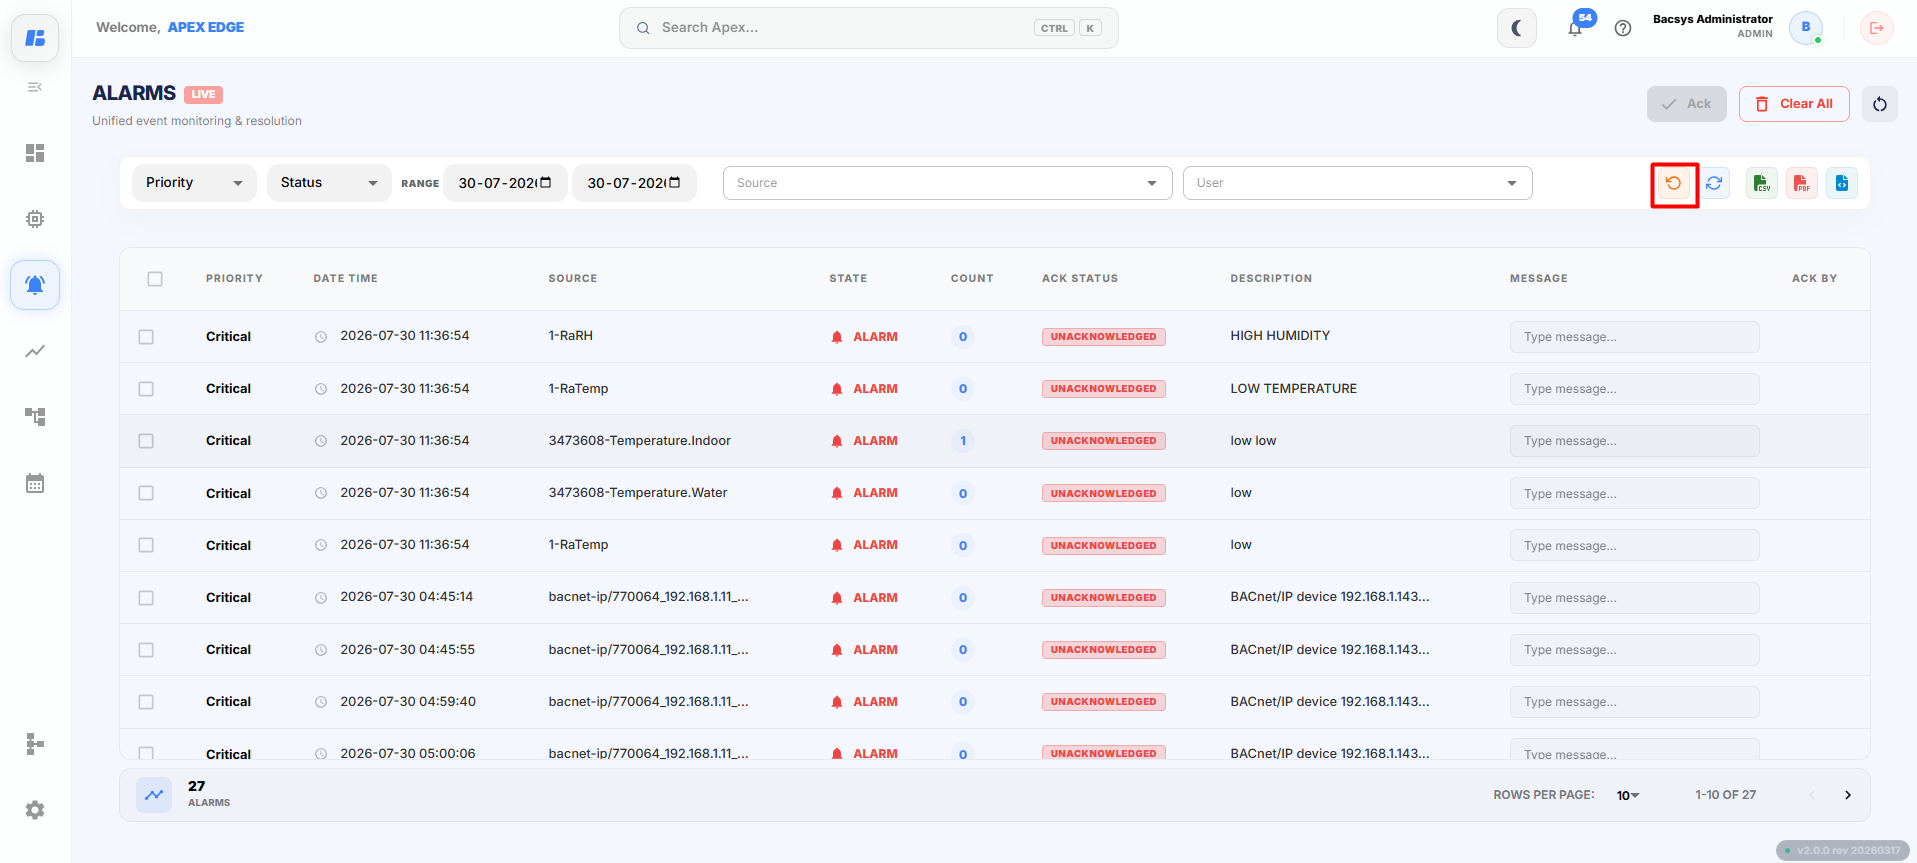
Steps
- Click Reset Filters.
- All selected filters are cleared.
- The complete alarm list is displayed again.
Download CSV
The CSV option exports all displayed alarms to a CSV file.
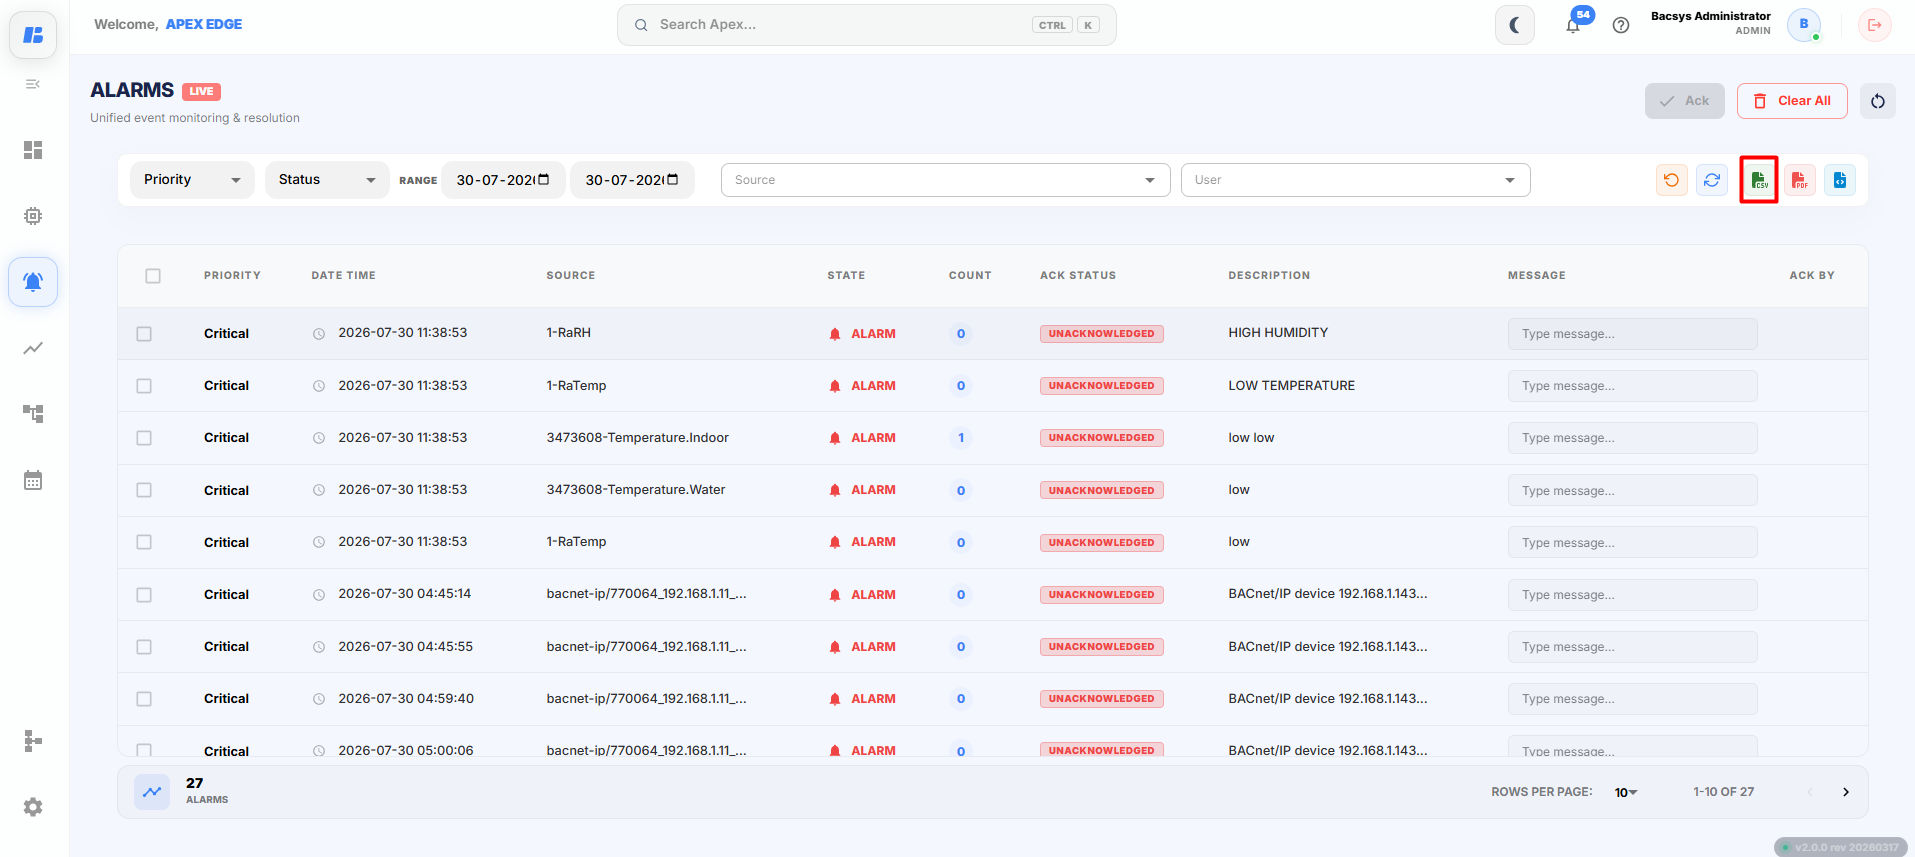
Steps
- Click CSV.
- The displayed alarms are downloaded as a CSV file.
- Open the file using Microsoft Excel or another spreadsheet application.
Download PDF
The PDF option exports the displayed alarms as a PDF report.
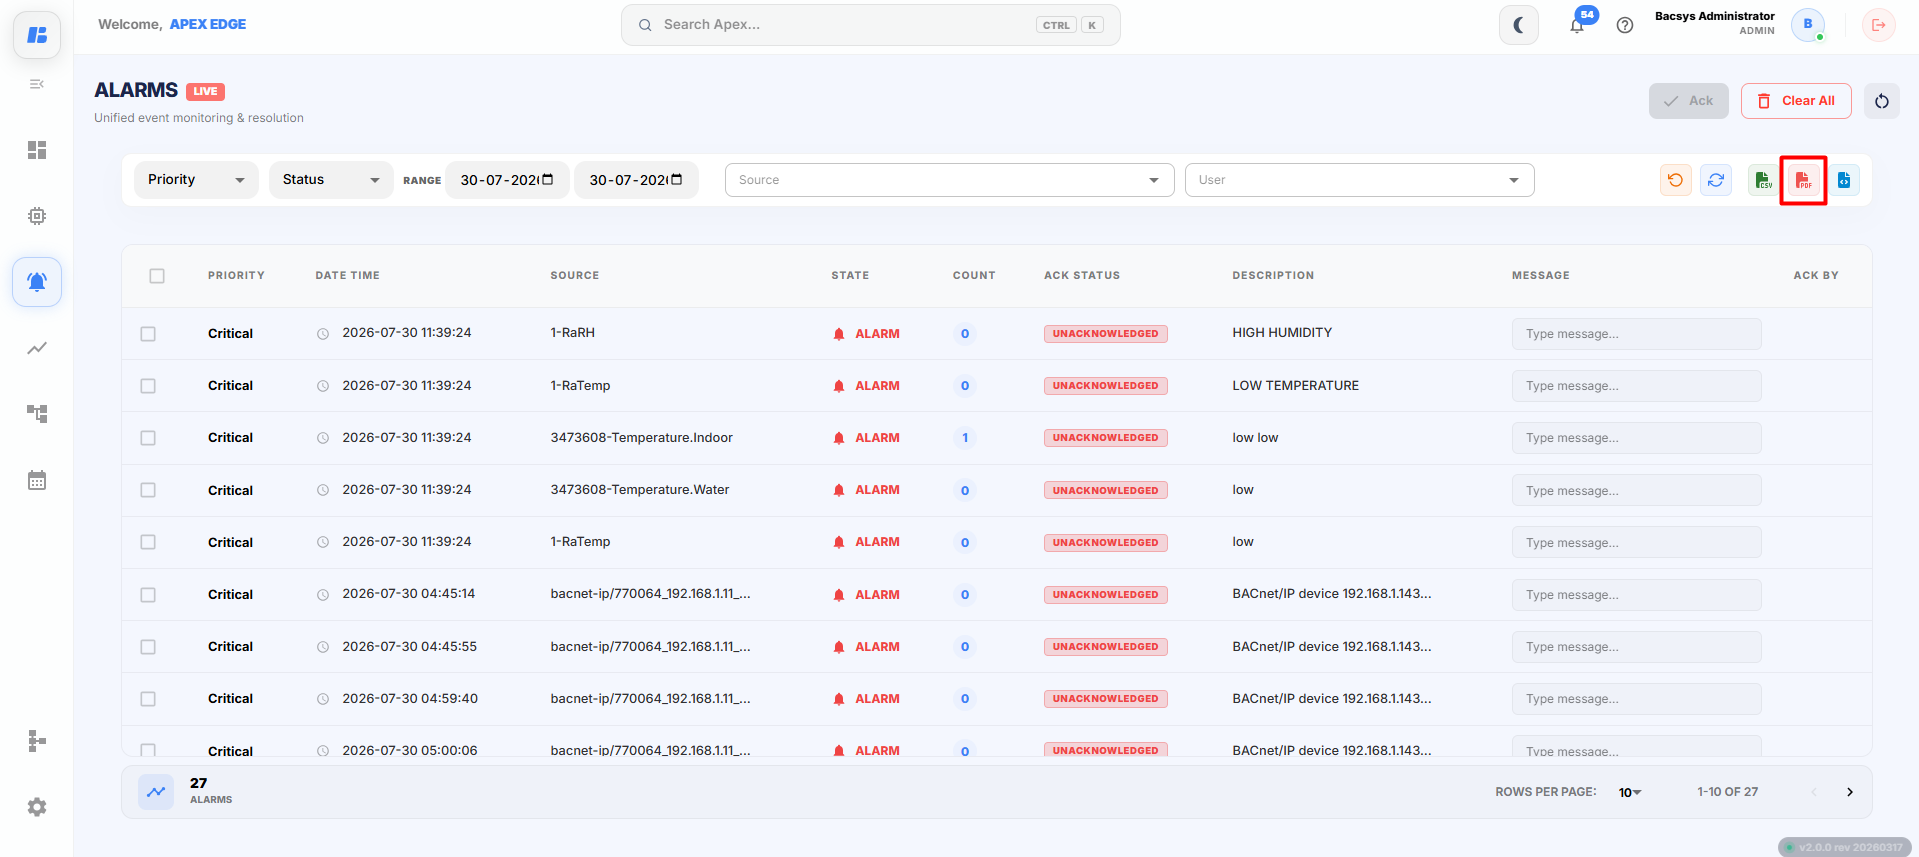
Steps
- Click PDF.
- The alarm report is downloaded as a PDF document.
Export JSON
The JSON option exports alarm information in JSON format.
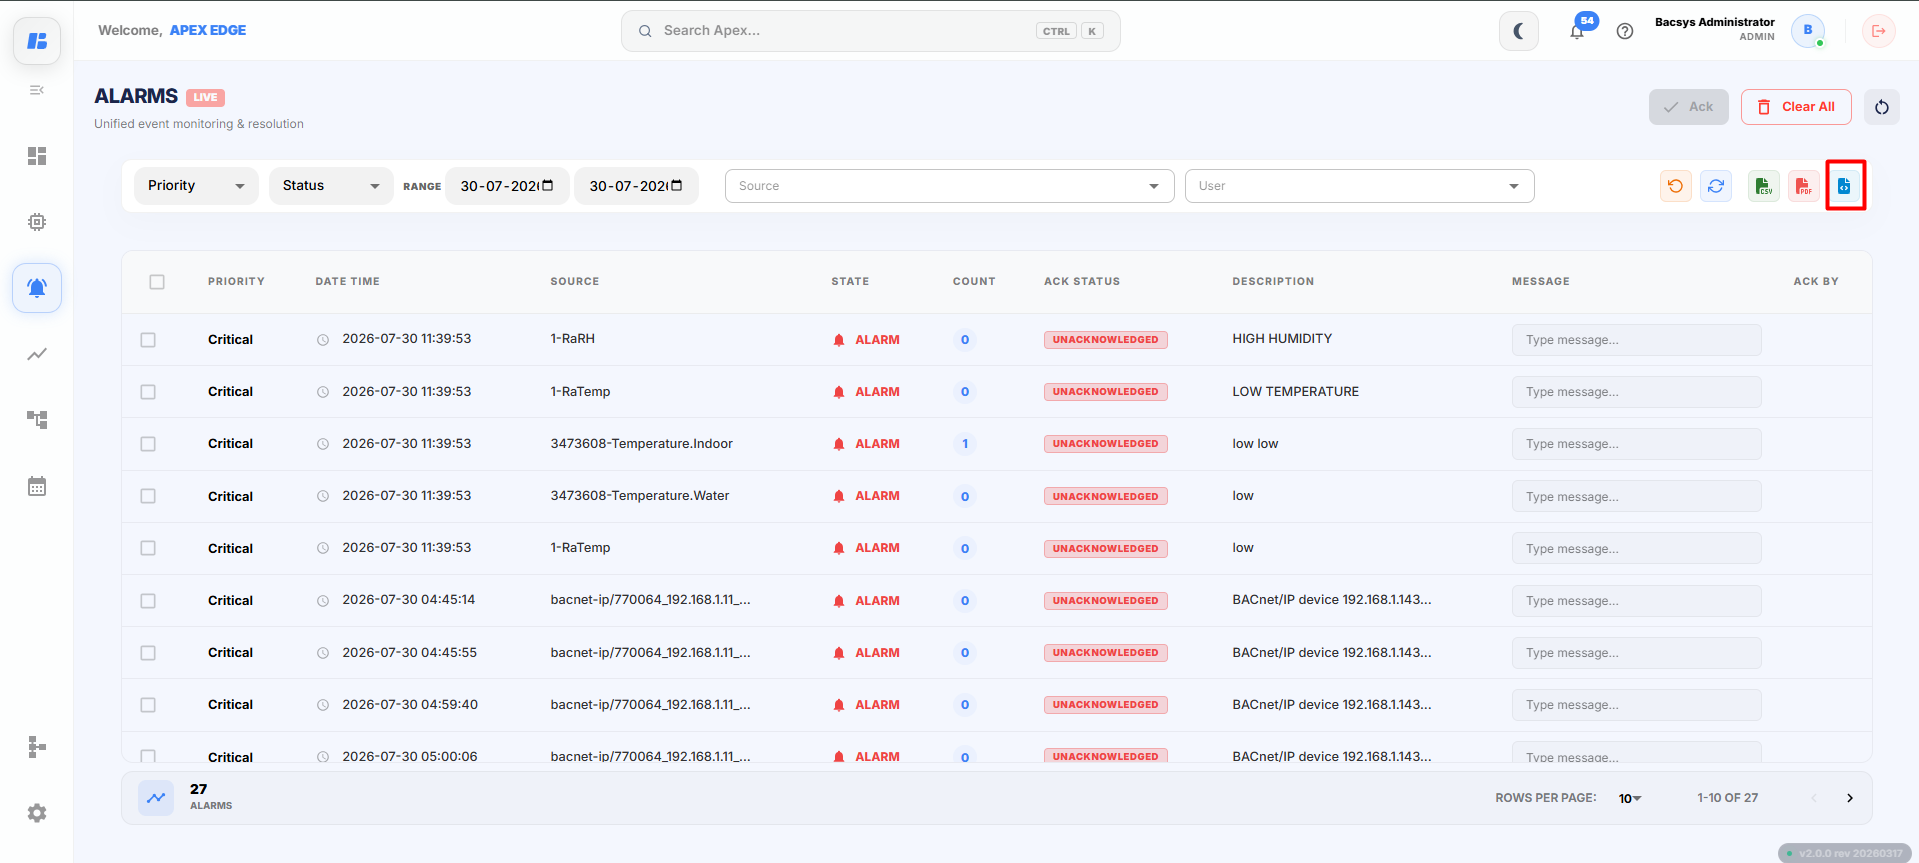
Steps
- Click JSON.
- The displayed alarms are downloaded as a JSON file.
This format is commonly used for application integration or data exchange.
Acknowledging Alarms
When an alarm is generated, its status is Pending until it is acknowledged by a user.
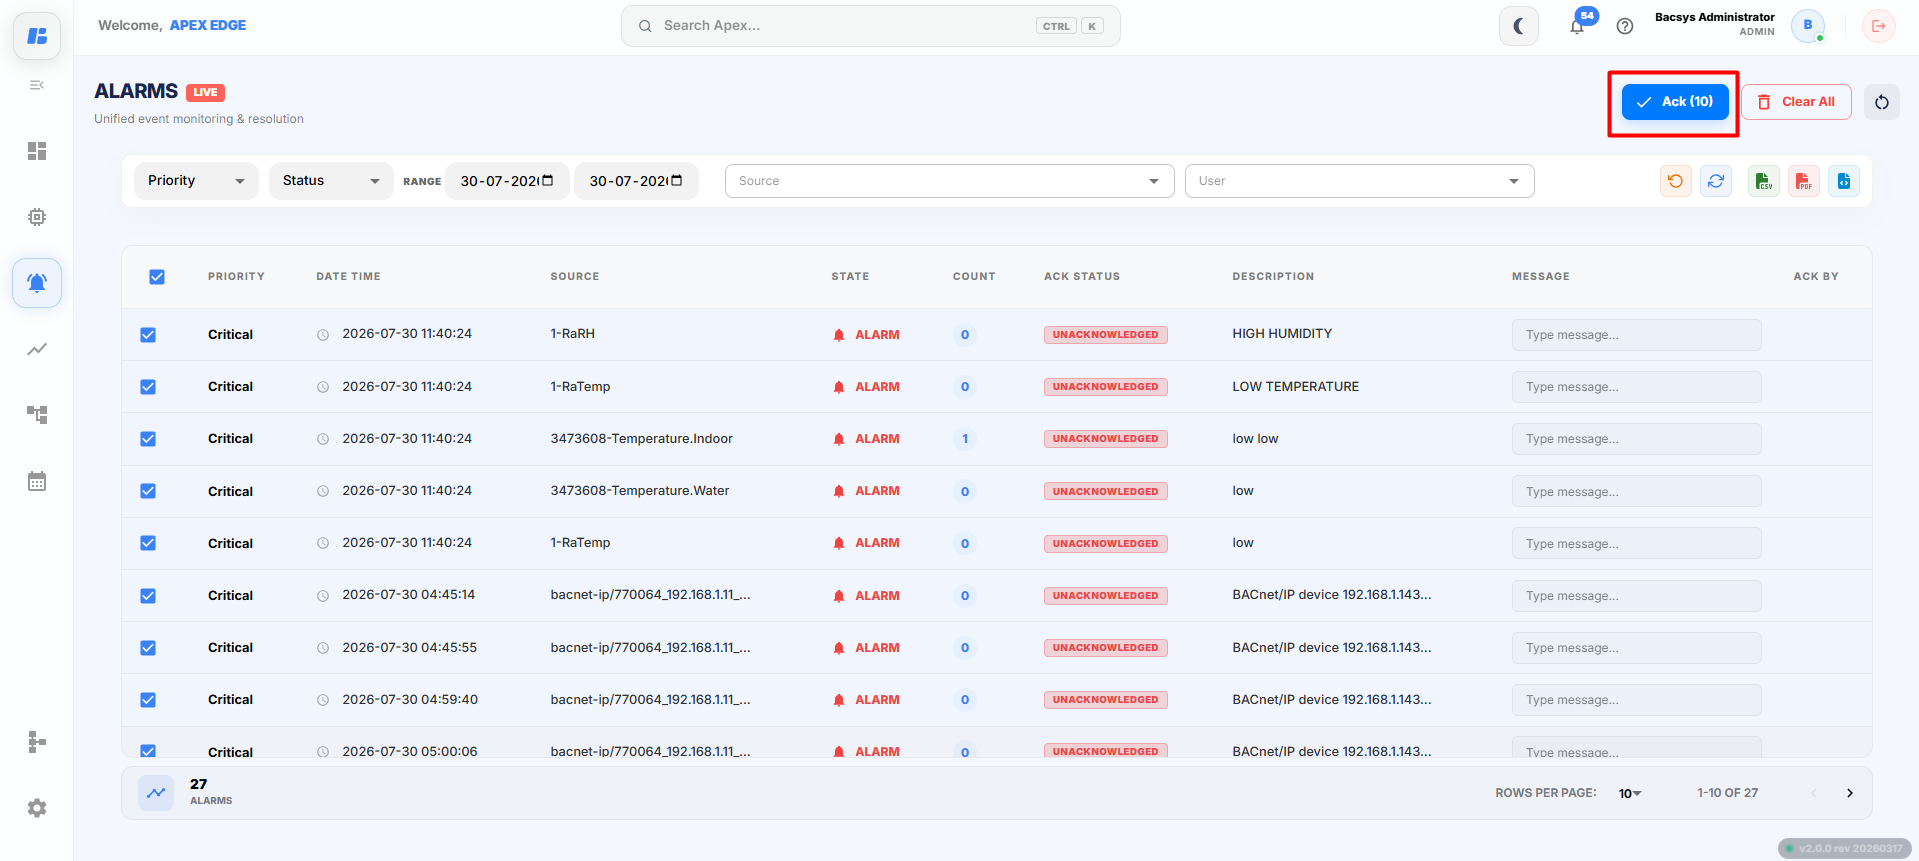
Steps
- Select one or more alarms by clicking the corresponding checkbox.
- The ACK button becomes enabled.
- Click ACK.
The selected alarms are marked as Acknowledged.
Acknowledging an alarm indicates that the operator has reviewed the alarm. It does not remove or clear the alarm.
Clear All Alarms
The Clear All button removes all cleared alarms from the alarm list.
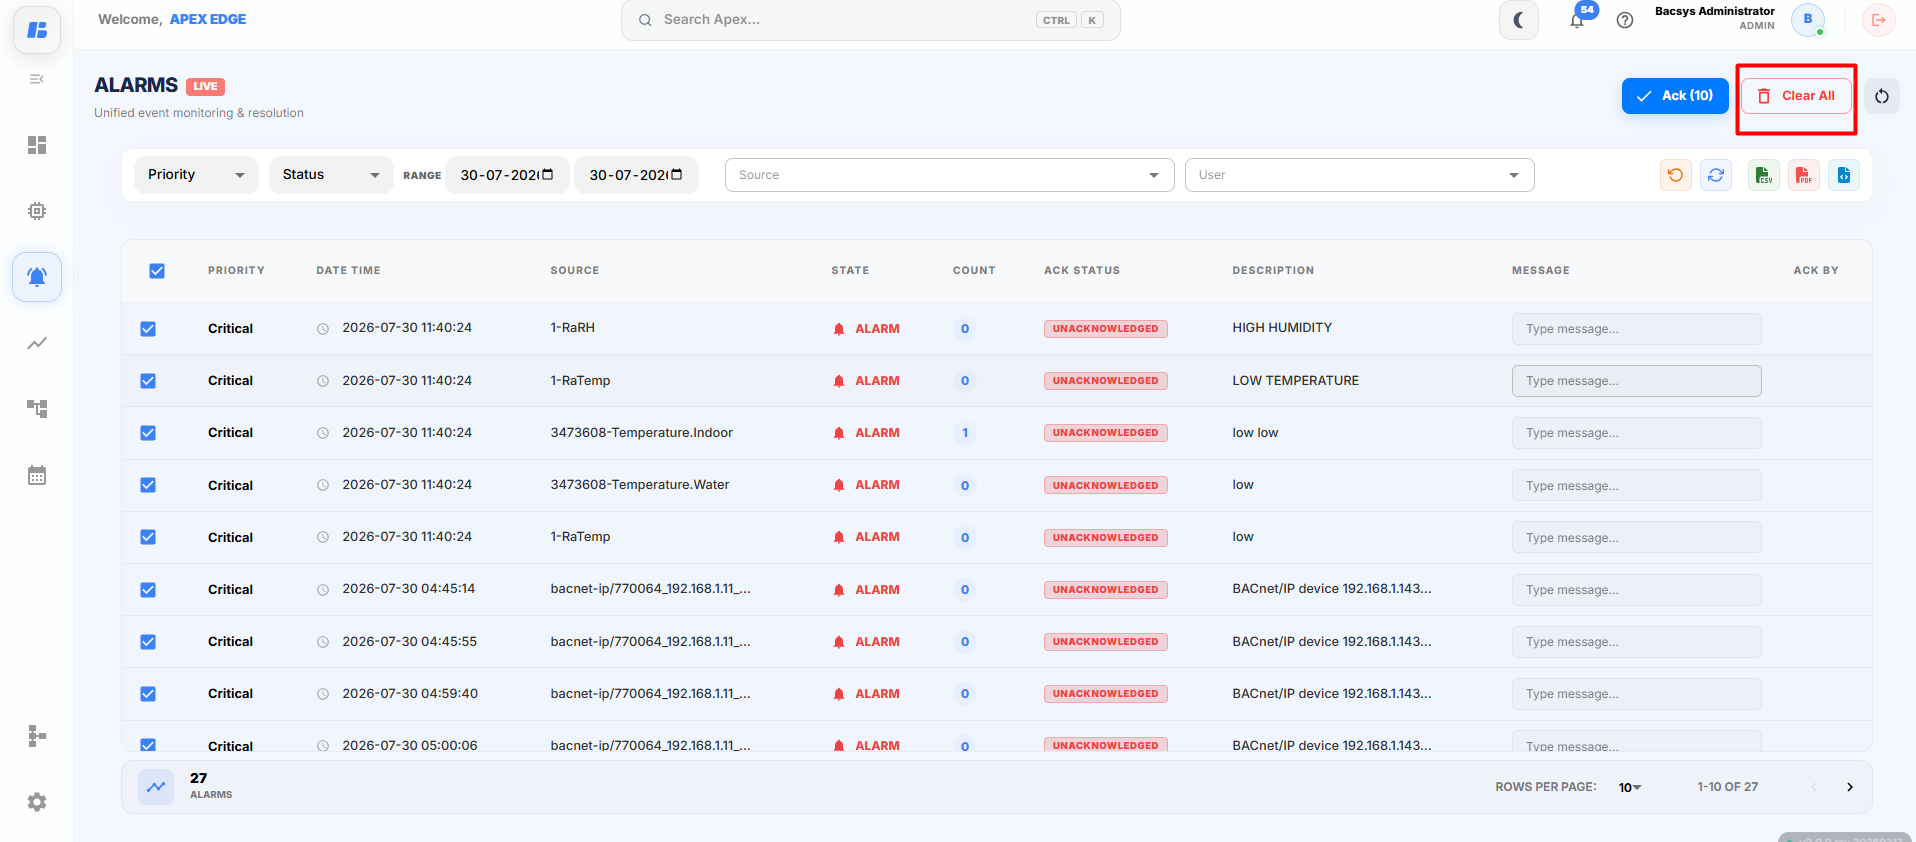
Steps
- Click Clear All.
- Confirm the action if prompted.
- All cleared alarms are removed from the list.
Note: This action only removes alarms that are eligible to be cleared. Active alarms remain visible until the alarm condition is resolved.
Refresh the Page
The Page Refresh button reloads the entire Alarms page.
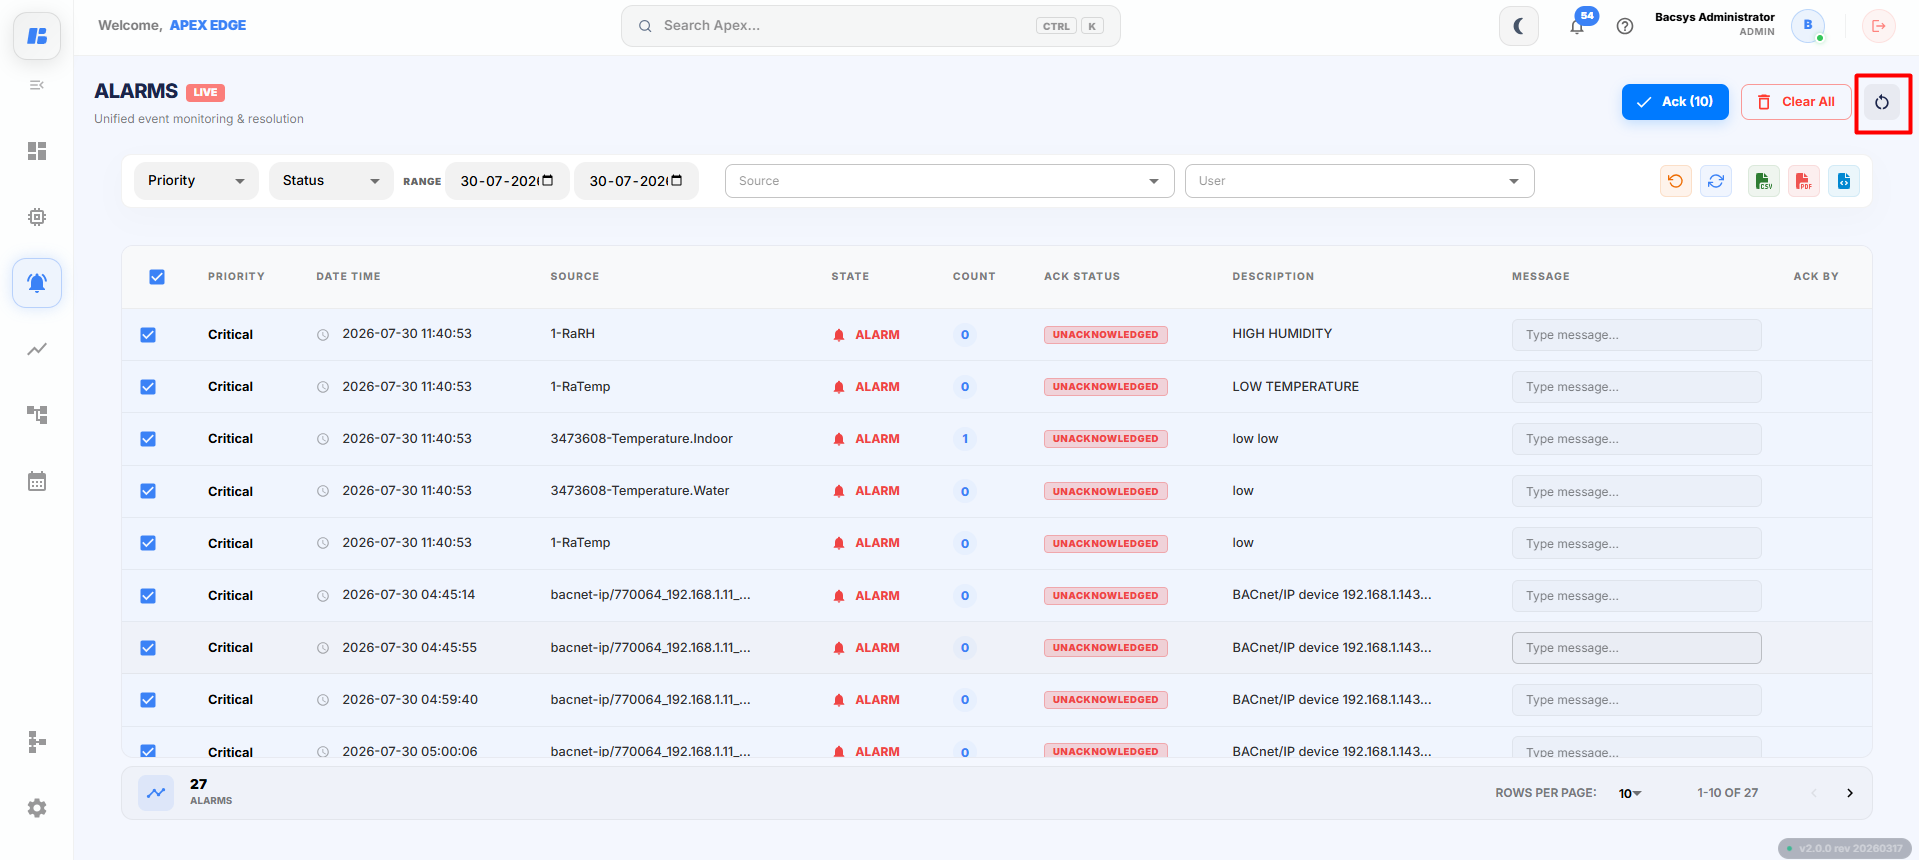
Steps
- Click the Page Refresh button.
- The Alarms page reloads.
- The latest alarm information is displayed.
Viewing Alarms for a Particular Point
If you want to view alarms generated for a specific point instead of all system alarms:
- Navigate to the Devices module.
- Open the required Network.
- Select the required Device.
- Click the required Point.
- Open the Alarms tab.
The page displays the complete alarm history for the selected point, including:
- Alarm Priority
- Alarm Status
- Alarm Message
- Alarm Source
- Generated Date and Time
- Acknowledged User
This view helps users quickly analyze alarms generated by an individual point without searching through the complete system alarm list.