Configuring BACnet TCP
Creating a BACnet TCP/IP Network
-
Open the Devices module from the sidebar.
-
change the toggle switch to the NB tab.
-
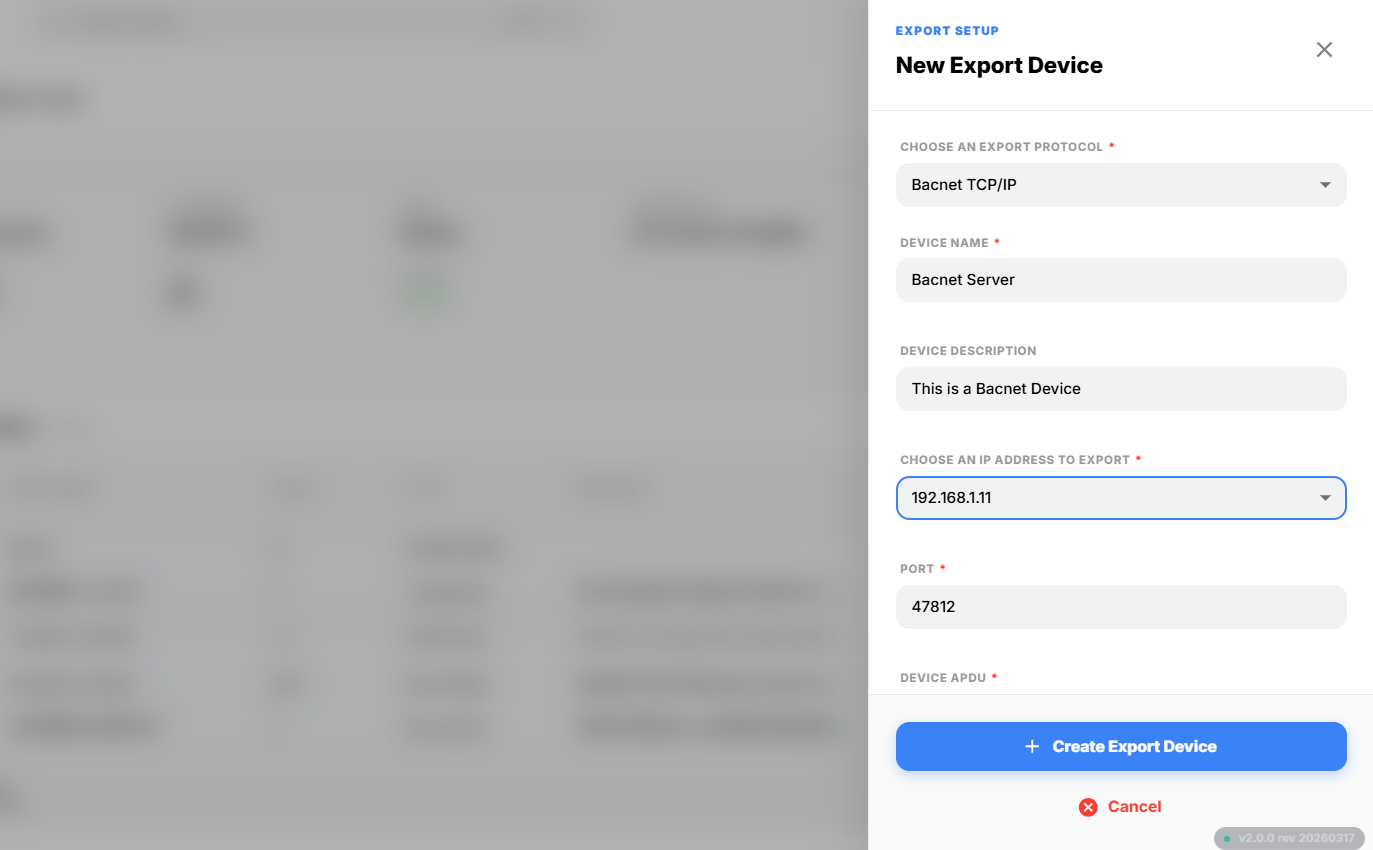
Click the + button. A popup form will appear.
-
From the Choose a Export Protocol dropdown, select BACnet TCP/IP.
-
Enter the required parameters for BACnet, such as:
- Device Port,Device Address,Device APDU etc... Other necessary fields
Once completed, click Create to add the network.
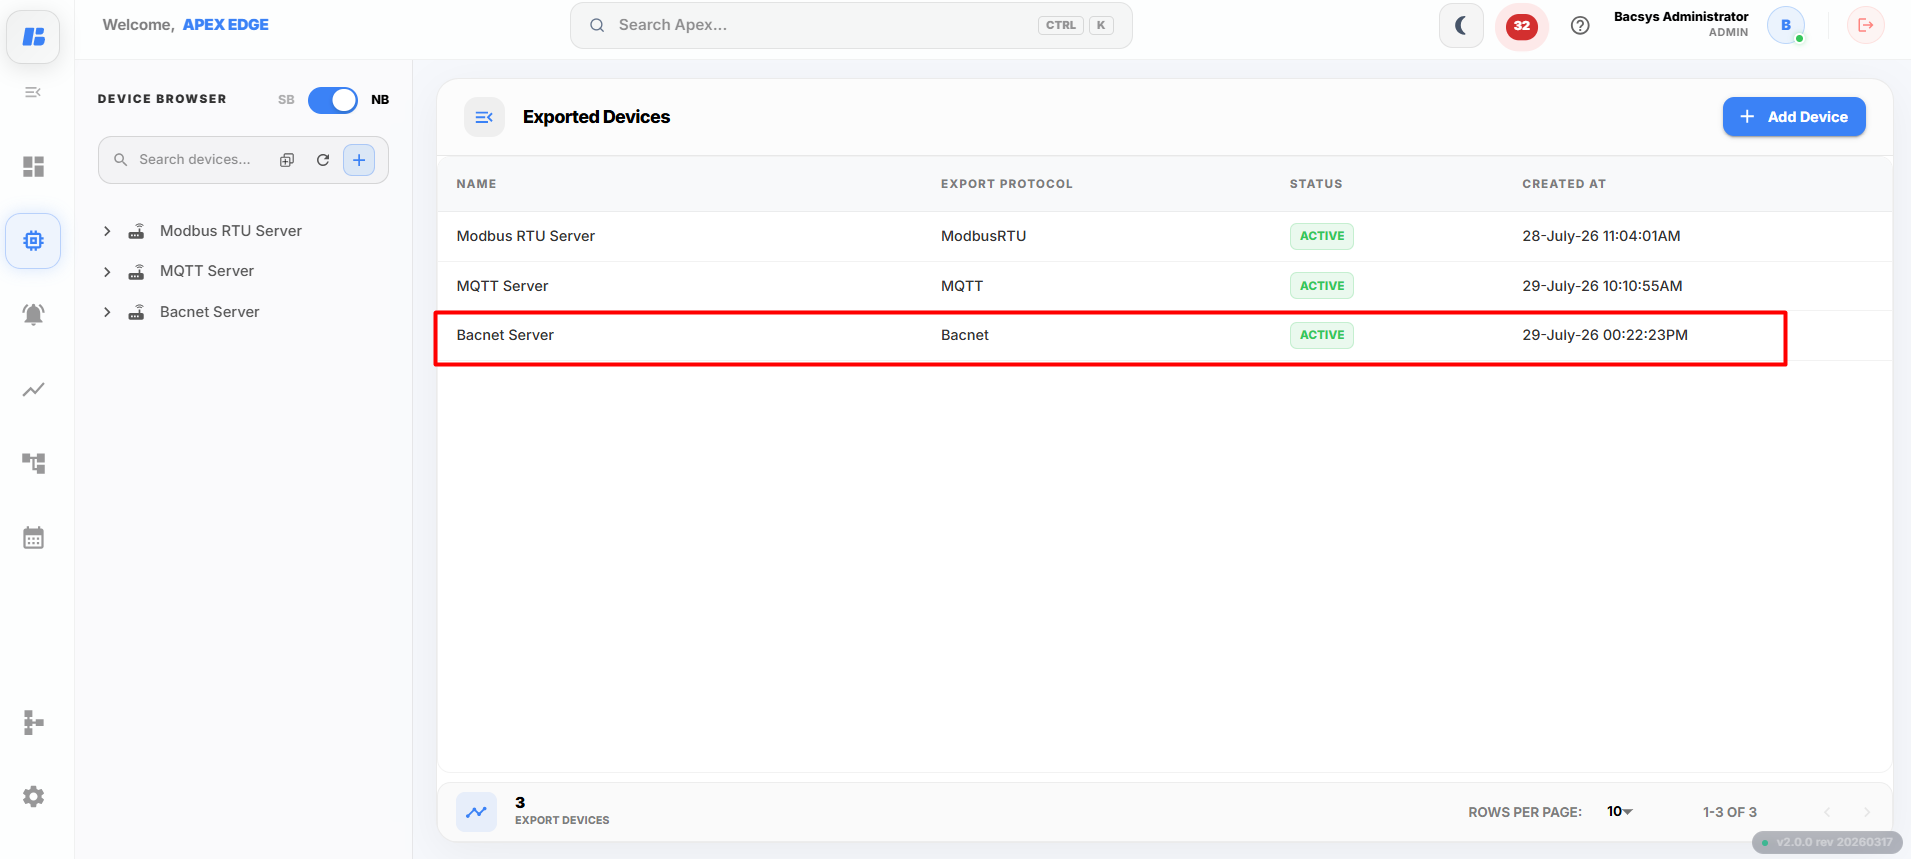
-
After successful creation, the newly added network will be displayed as shown above.
Discovering and Adding Points
-
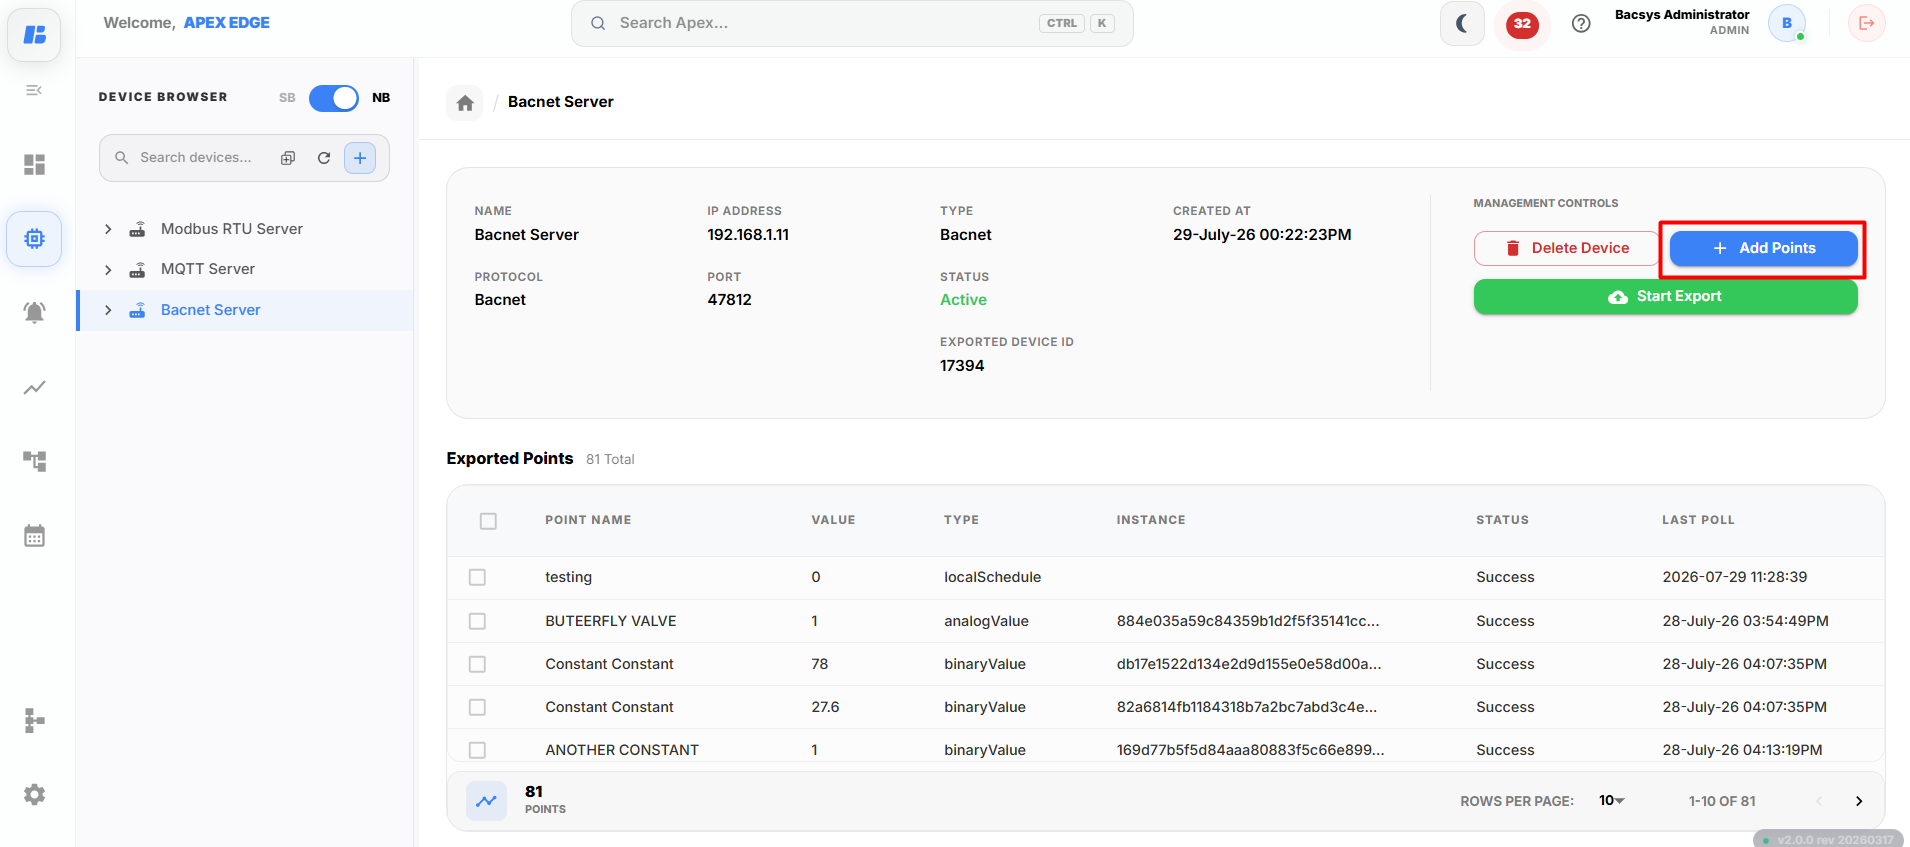
Go to the network you just created and click on it to open the details view.
-
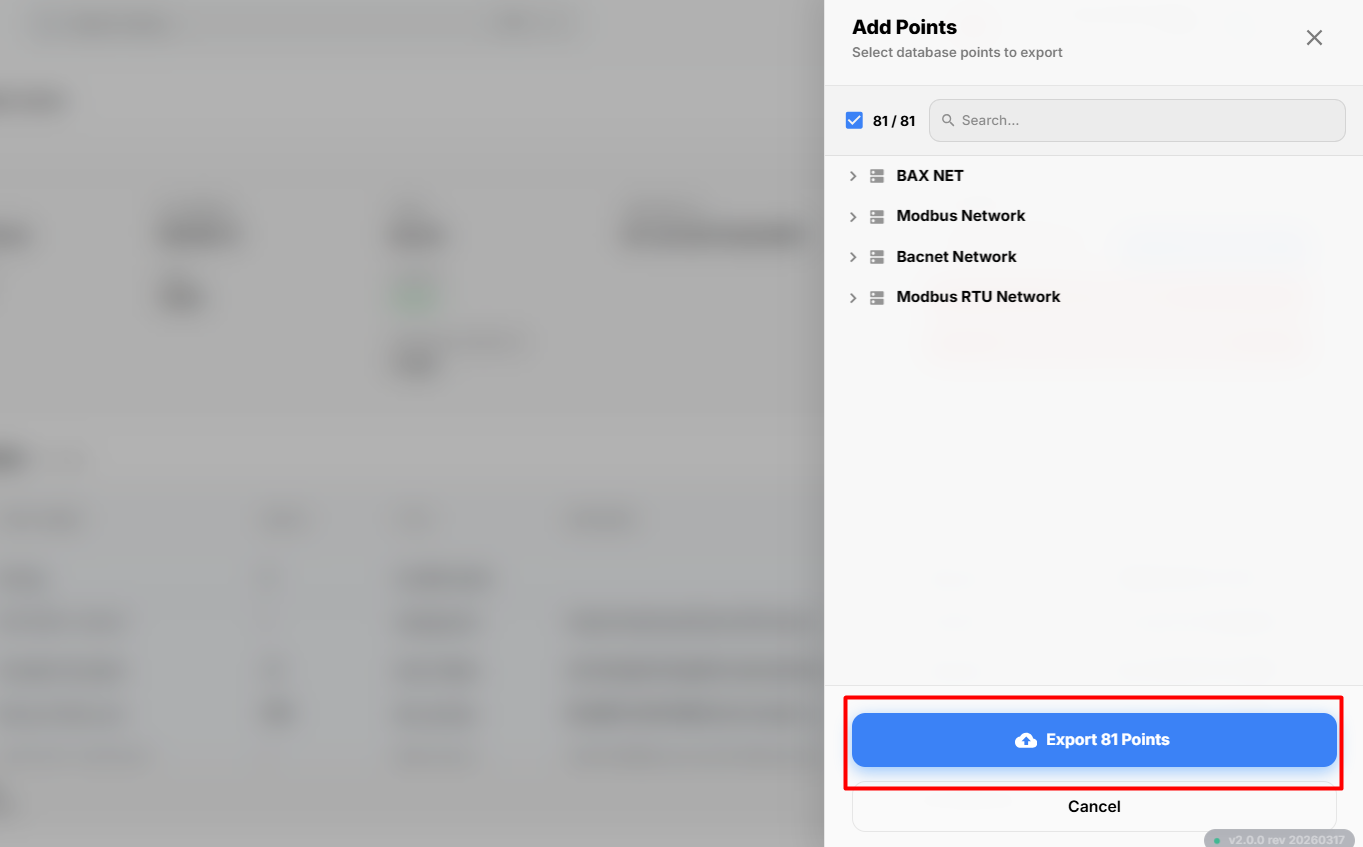
Click the Add Points button.
-
From the list, select the required points you want to add.
-
Once the points are added, click the Export button to export them.
Managing Network Points
After adding points, the network page displays the following action buttons:
Step 1: Add Points
- Click the Add Points button to add more points to the network.
- In the Add Points popup, select the required points and click Add Selected Points.
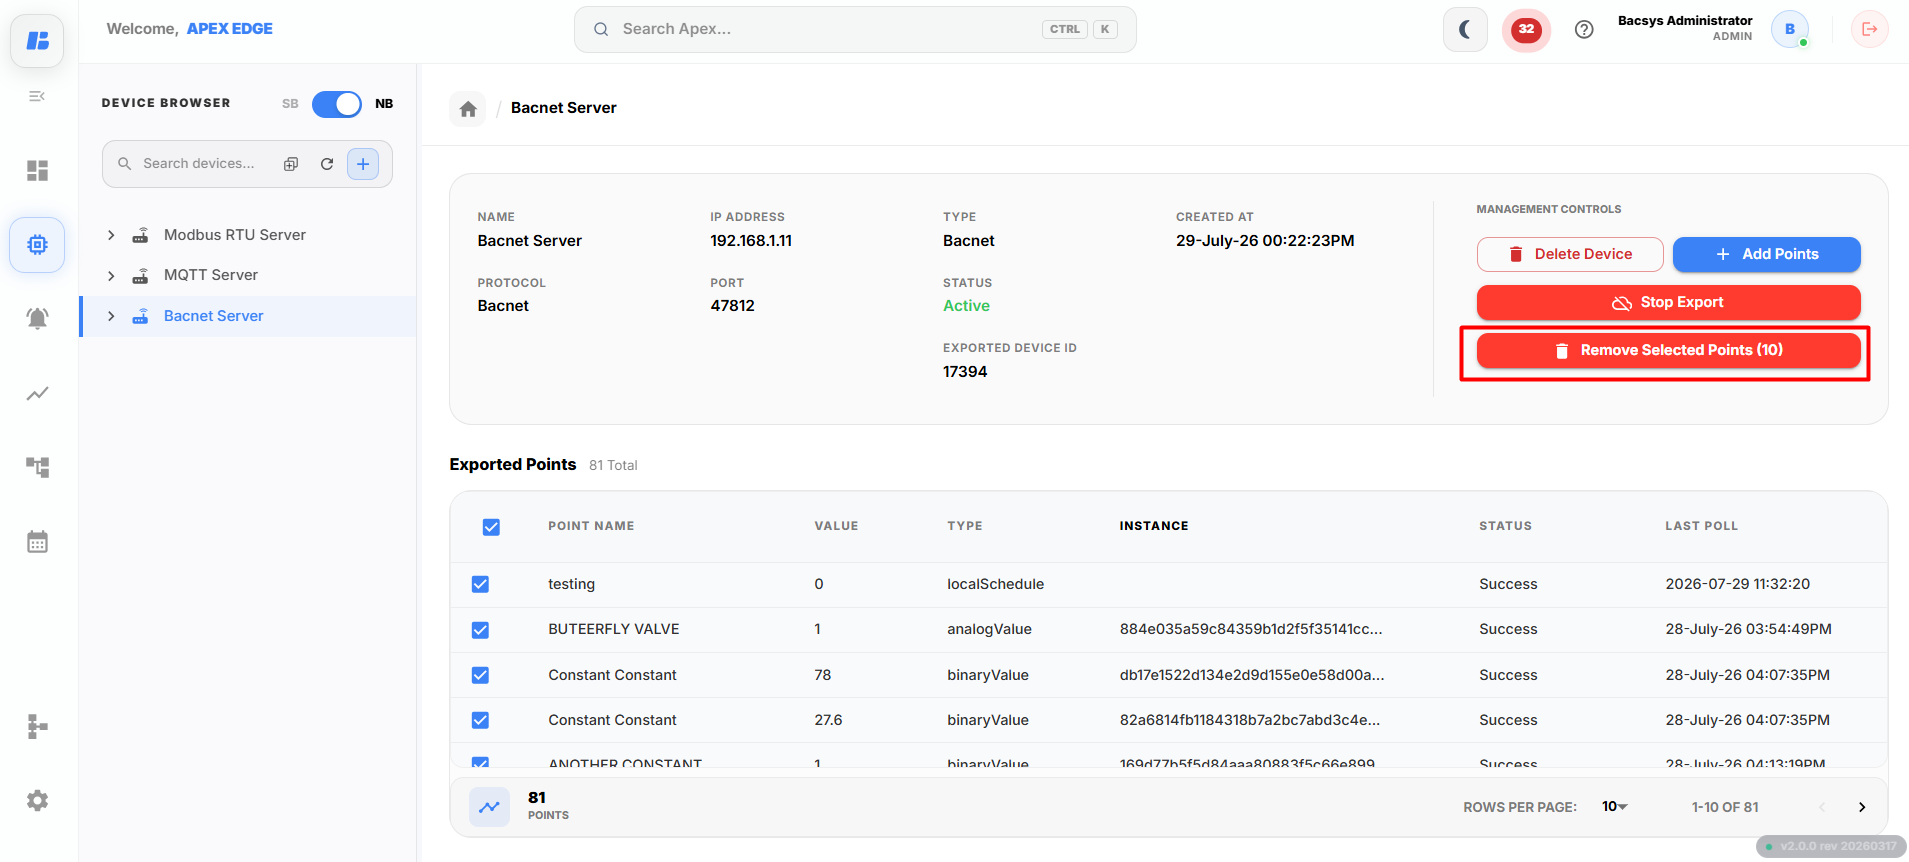
Step 2: Remove Selected Points
- To remove one or more points, select the required point(s) from the points list.
- The application displays the number of selected points.
- Click Remove Selected Points to remove the selected points from the exported server.
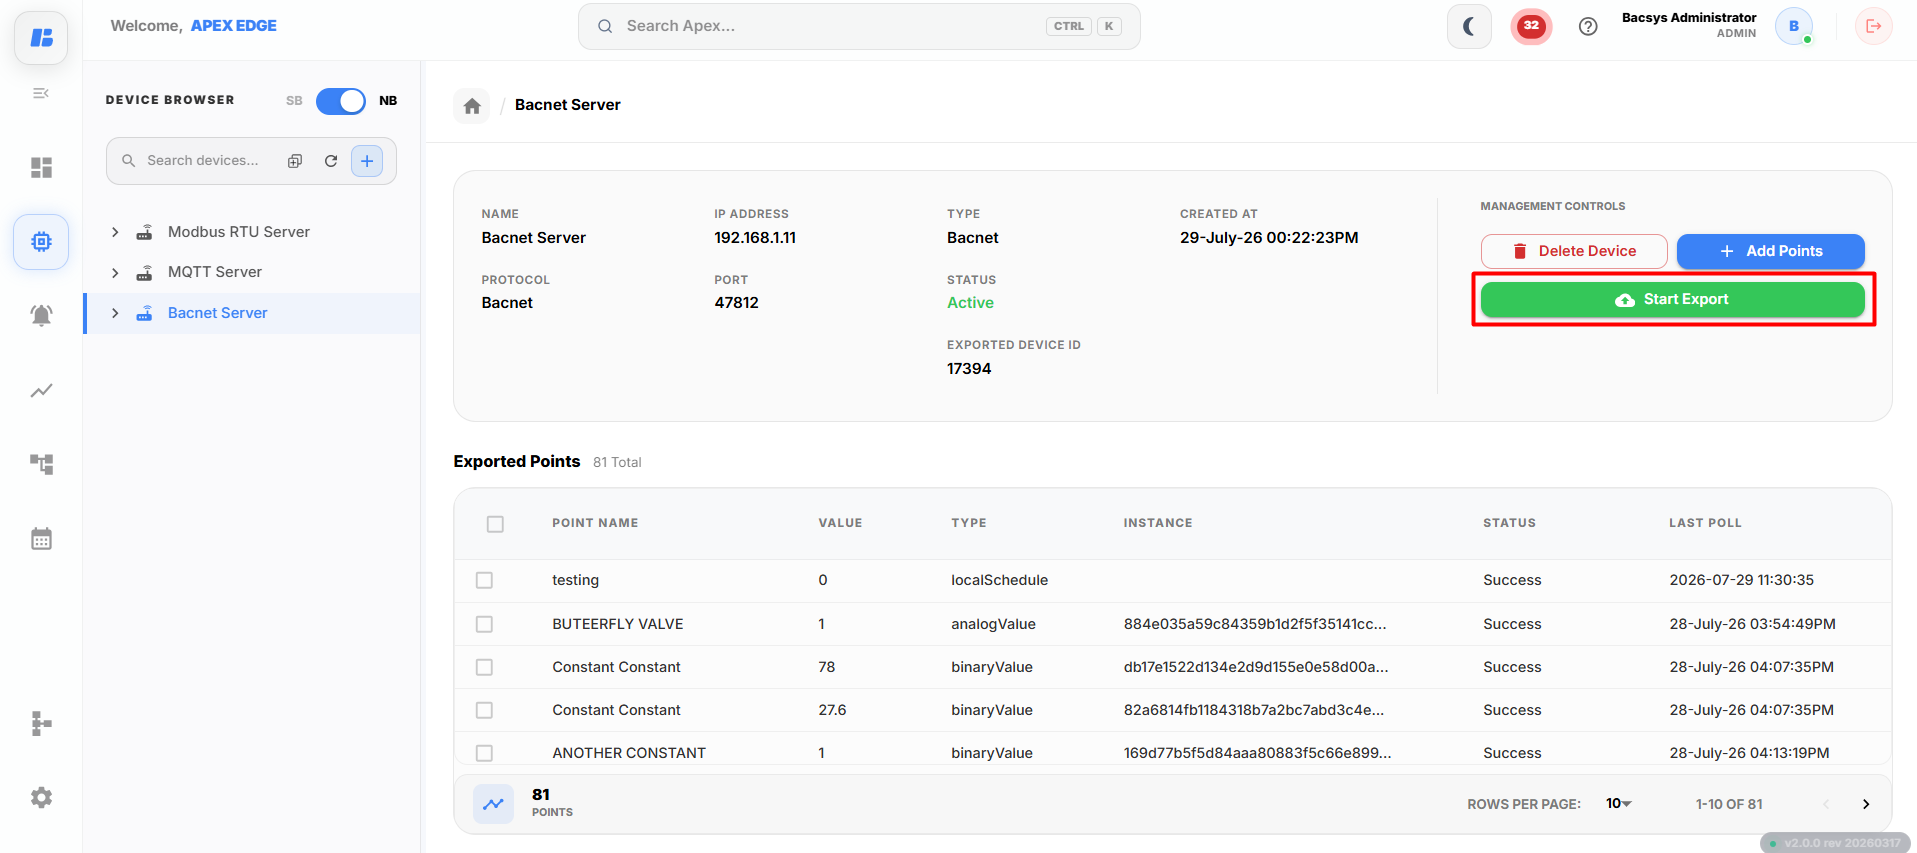
Step 3: Start Exporting
- Click the Start Export button to begin exporting the selected points.
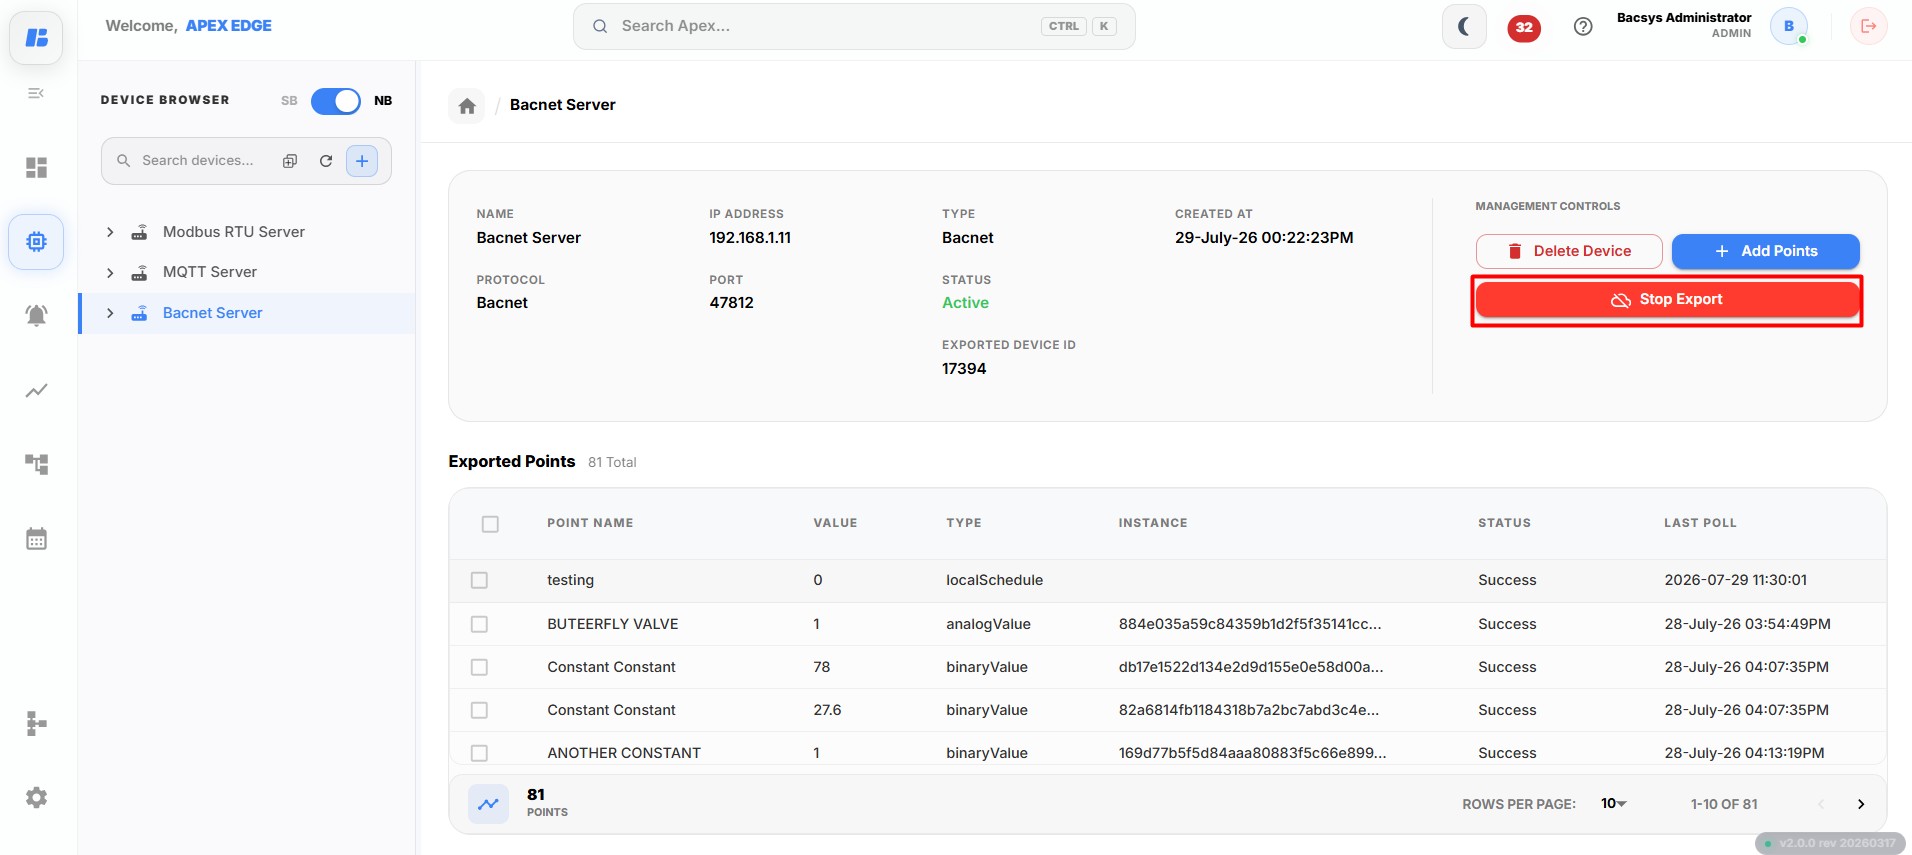
Step 4: Stop Exporting
- Click the Stop Export button to halt the ongoing export of points.
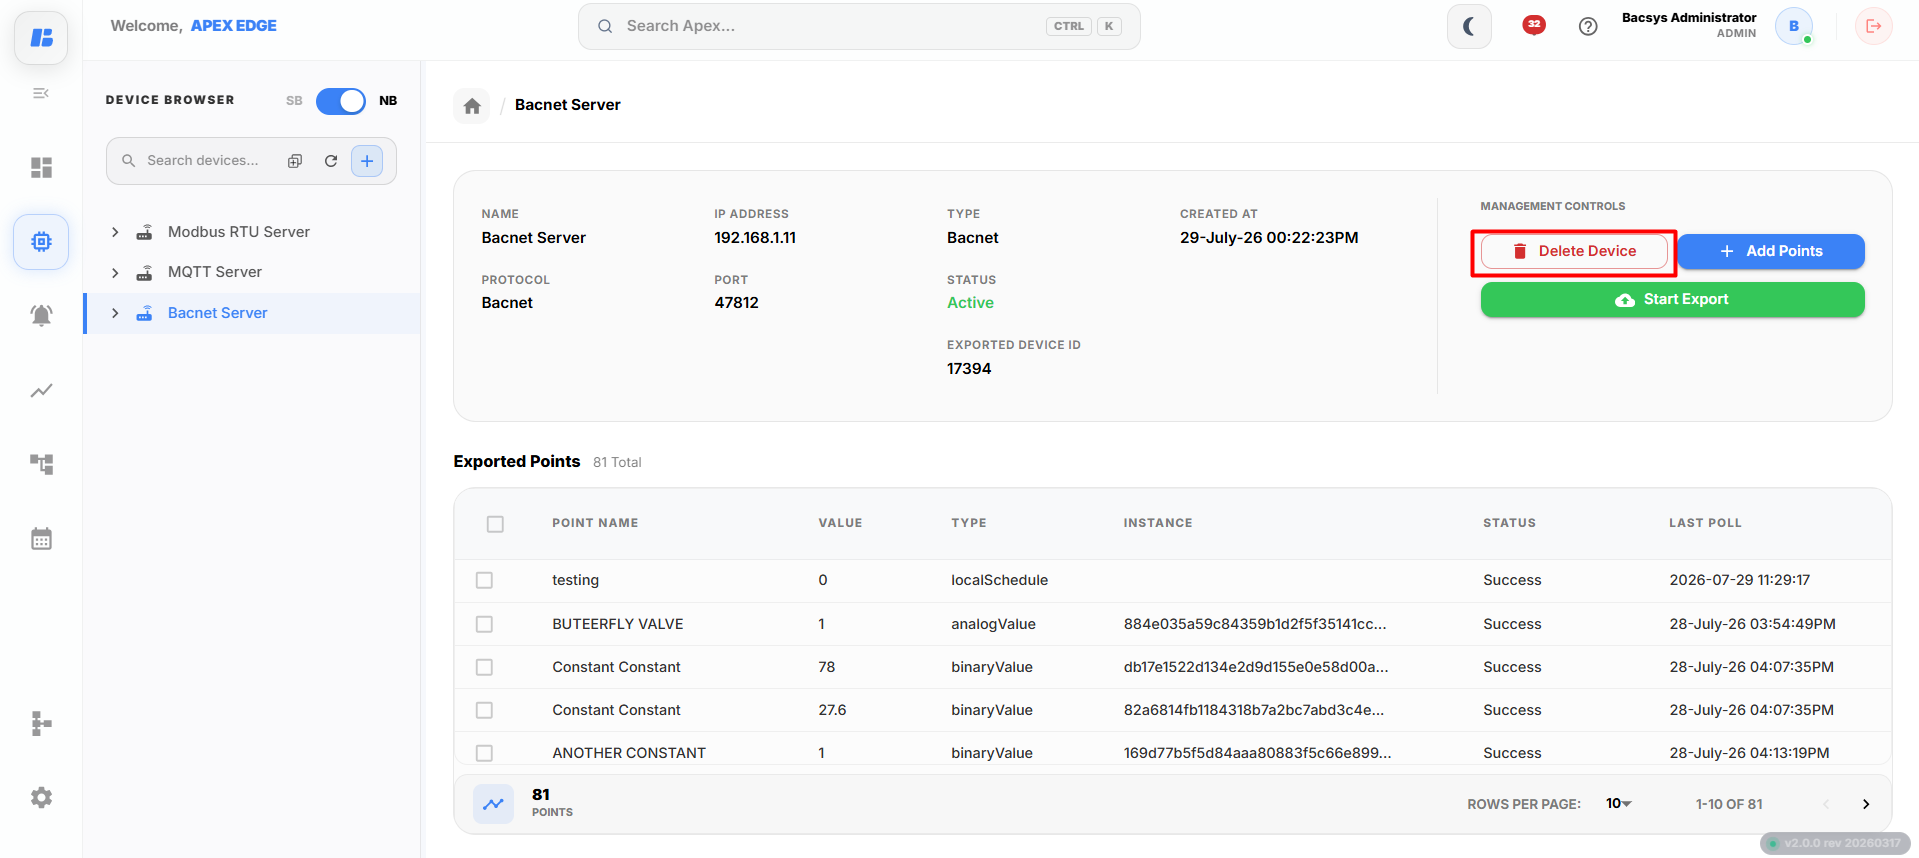
Step 5: Delete Device
- Click the Delete Device button to remove the Exported Server from the network.
- Deleting the device also removes all the points associated with it.