

Contacts
The Contacts module allows users to create and manage contact information for alarm notifications. Contacts can be assigned one or more Tags, which are linked to devices or alarms. When an alarm is generated for a device with a matching tag, the system automatically sends a notification to the associated contact.
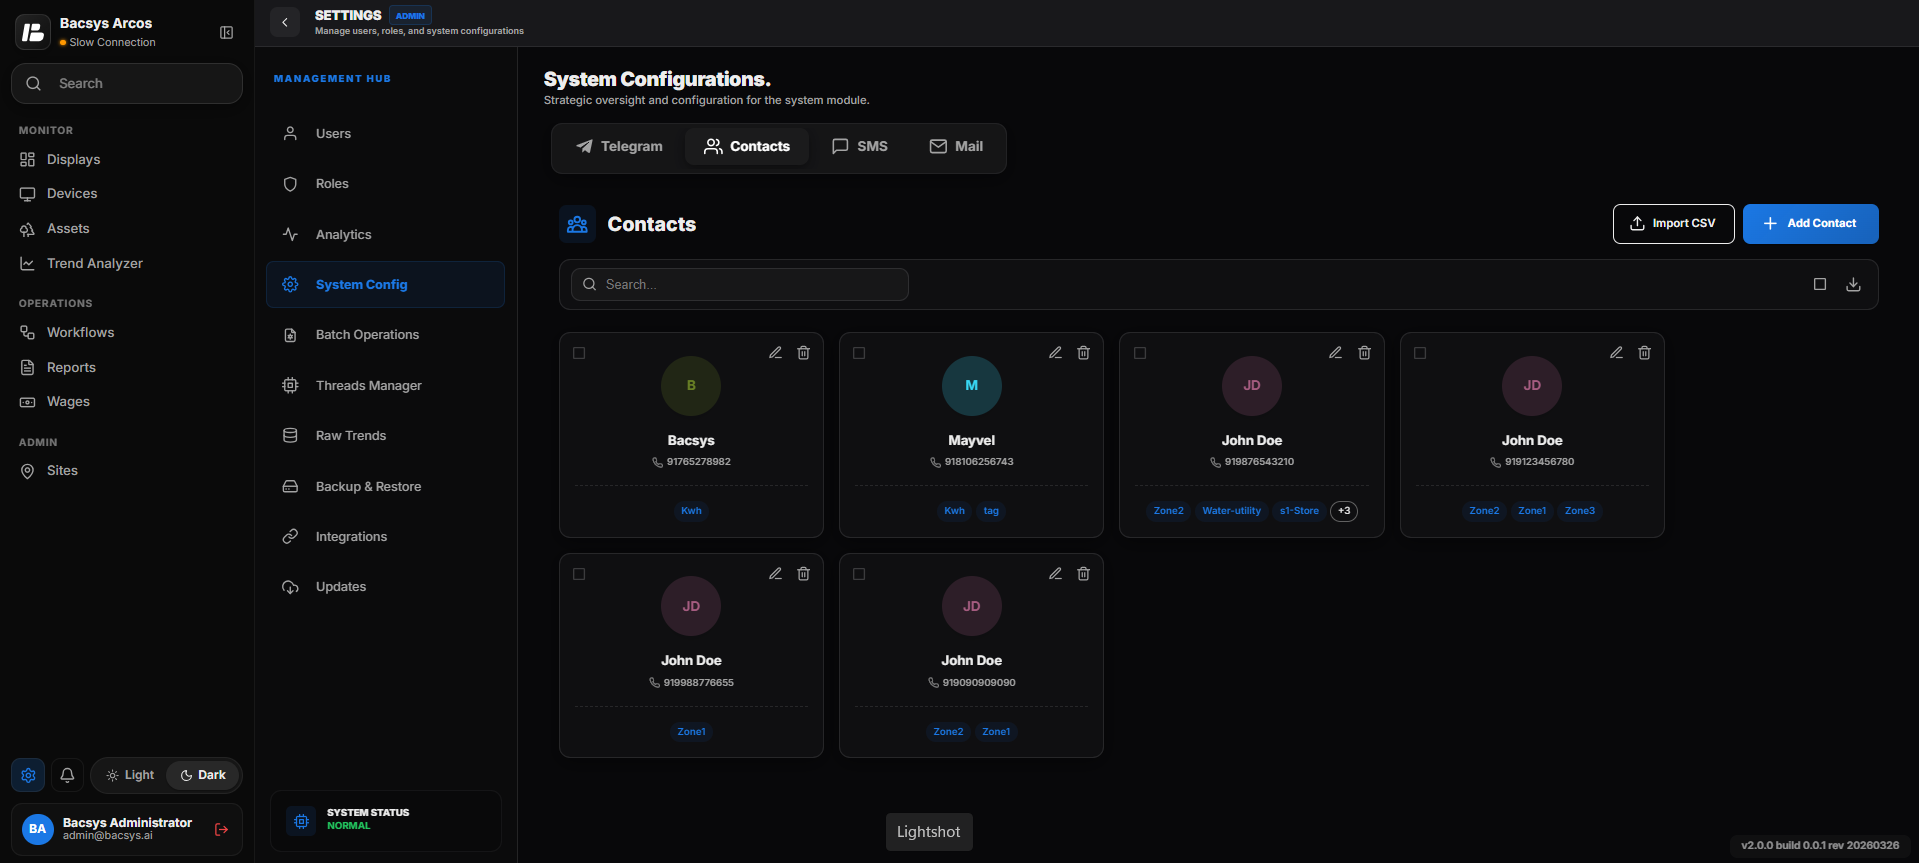
Contacts
Viewing Contacts
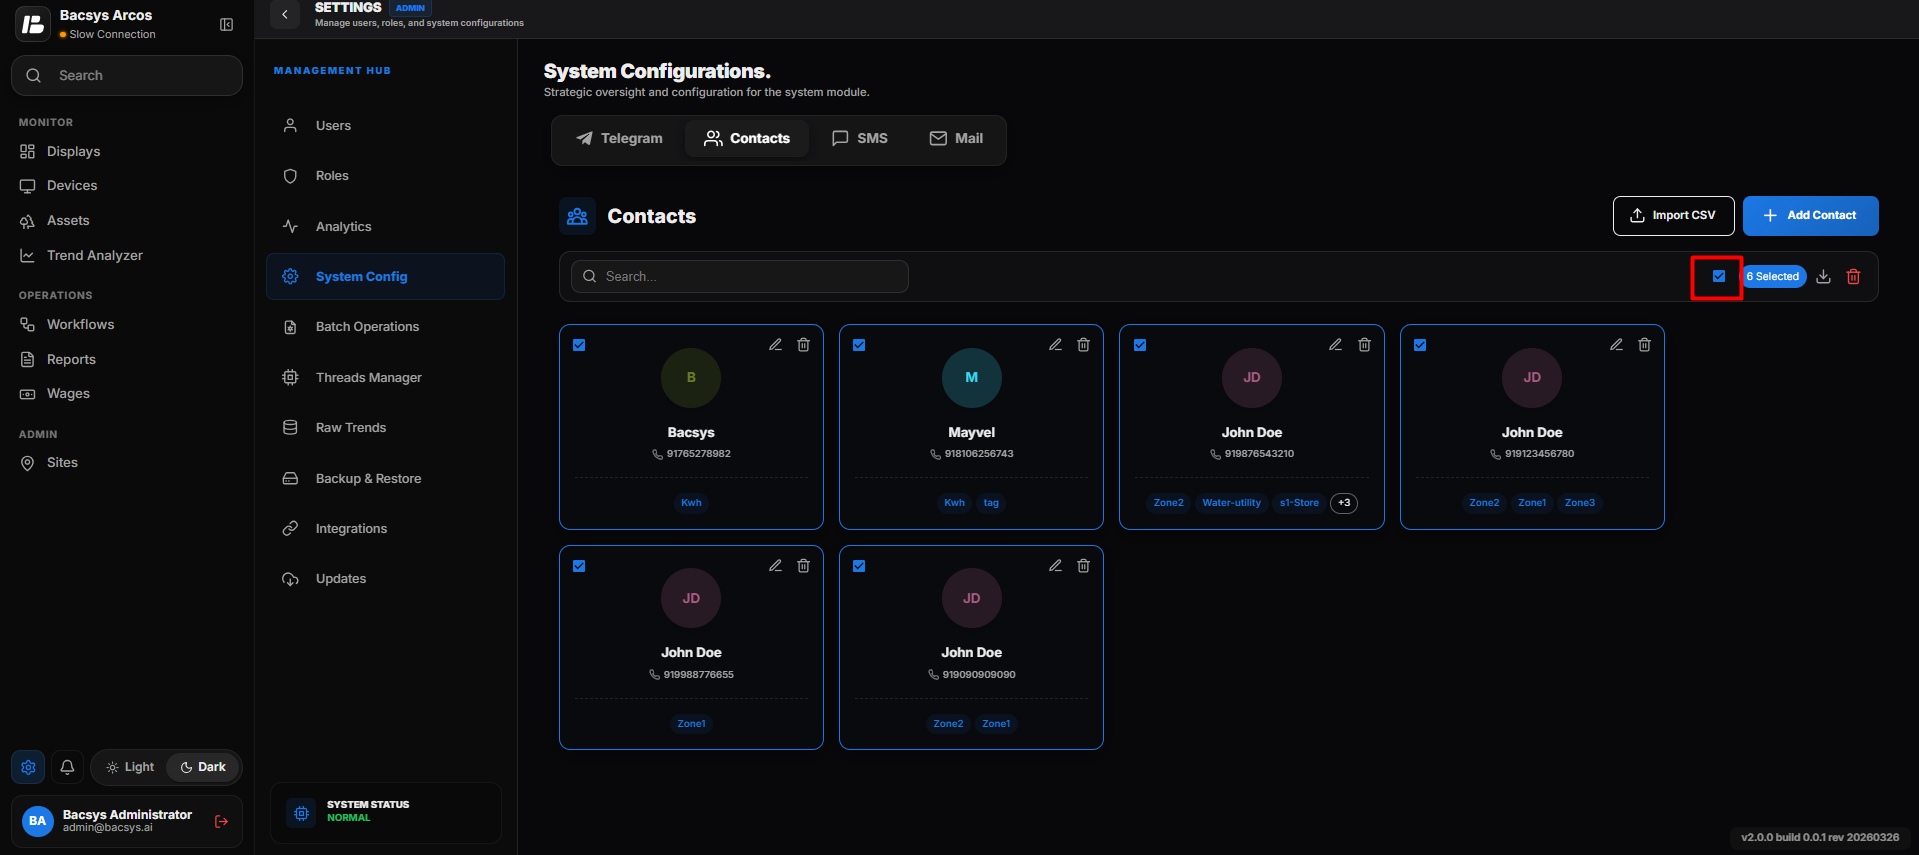
The Contacts page displays all configured contacts in the system.
Steps
- Open the Contacts module.
- View the list of available contacts.
- Review the contact details, including the contact name, phone number, and assigned tags.
Download Template
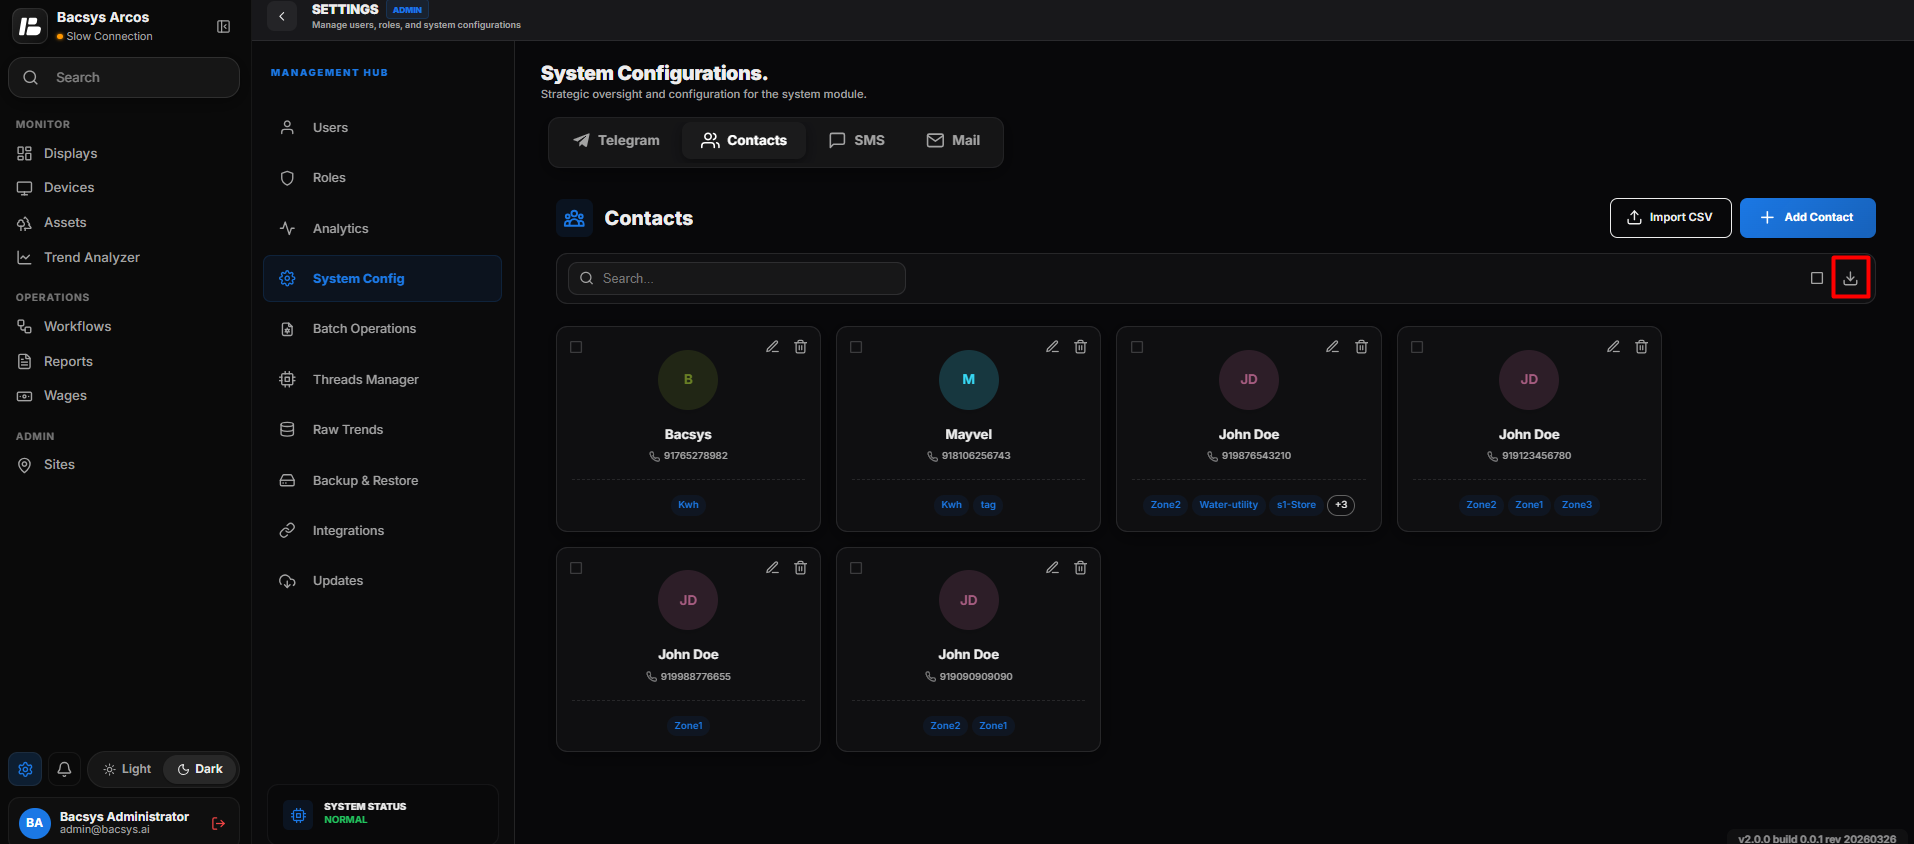
Download Contact Template
The Download Template option allows users to download a sample CSV template that can be used to prepare contact information before importing it into the system.
Steps
- Click Download Template.
- The system downloads a sample CSV template to your local machine.
- Open the downloaded template and enter the required contact details.
- Save the completed CSV file.
- Use the Import Contacts option to upload the completed template into the system.
Note
- The downloaded template provides the required format for importing contacts.
- Ensure that the contact information is entered in the correct columns before importing the CSV file.
Import Contacts
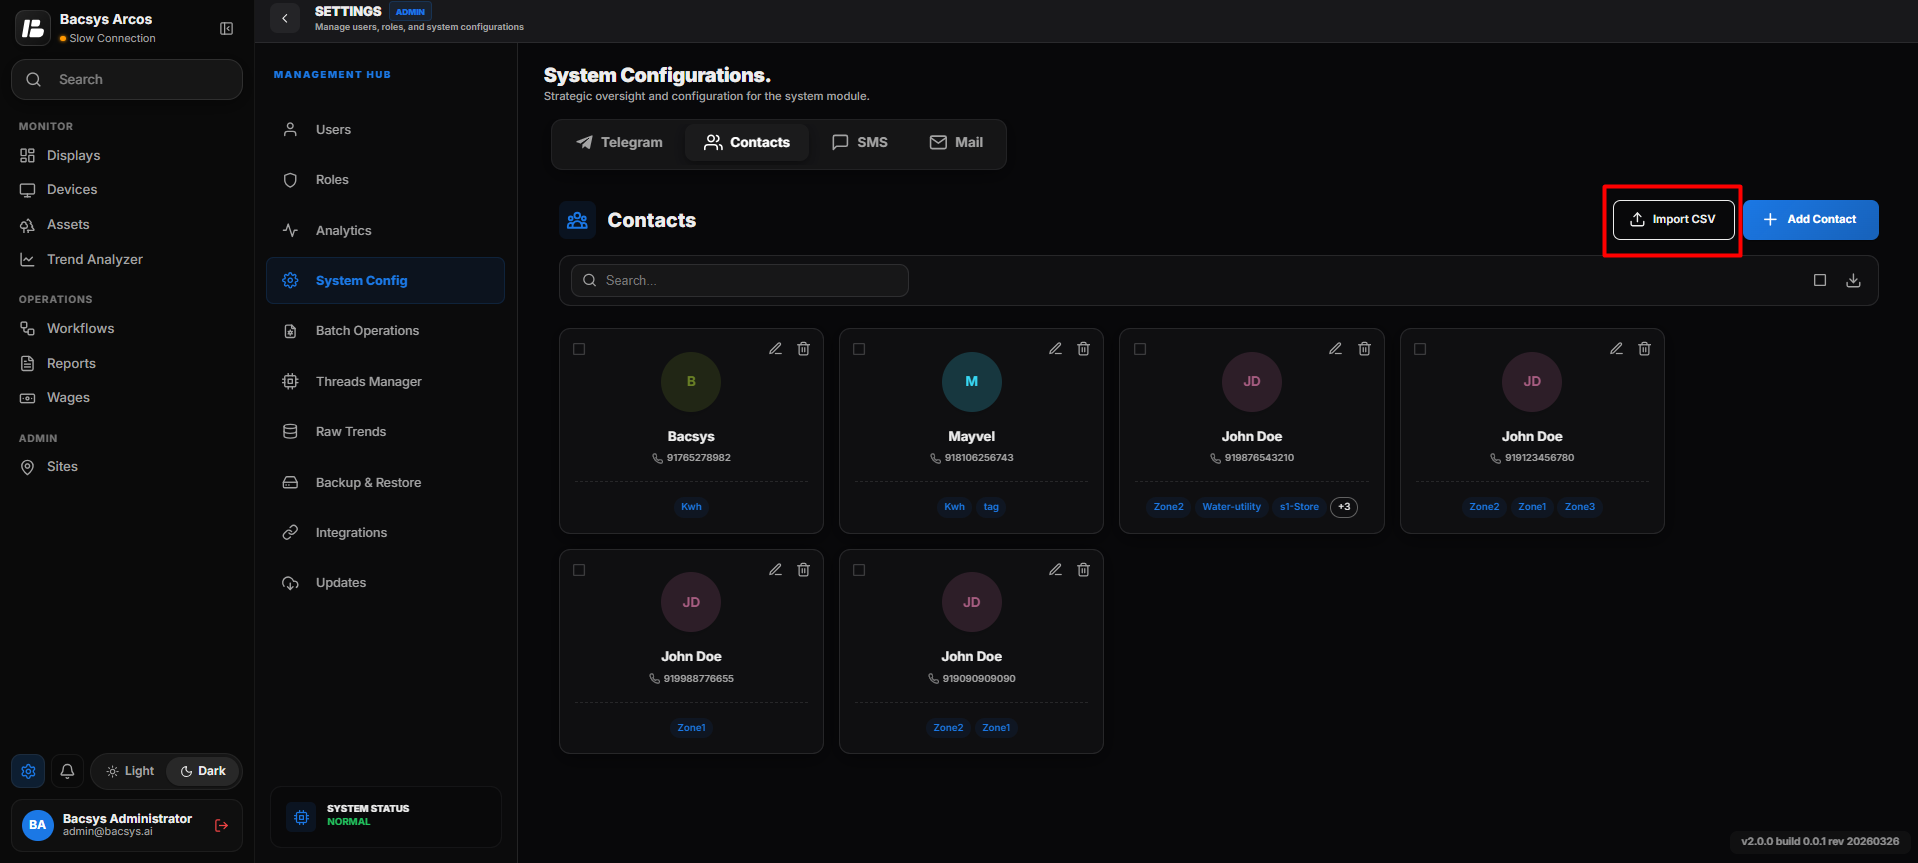
Import Contacts
The Import Contacts option allows users to import multiple contacts using a CSV file.
Steps
- Click Import Contacts.
- Browse and select the required CSV file.
- Click Import.
- The system validates and imports the contacts from the selected file.
Note
Ensure that the CSV file follows the supported import format.
Adding a Contact
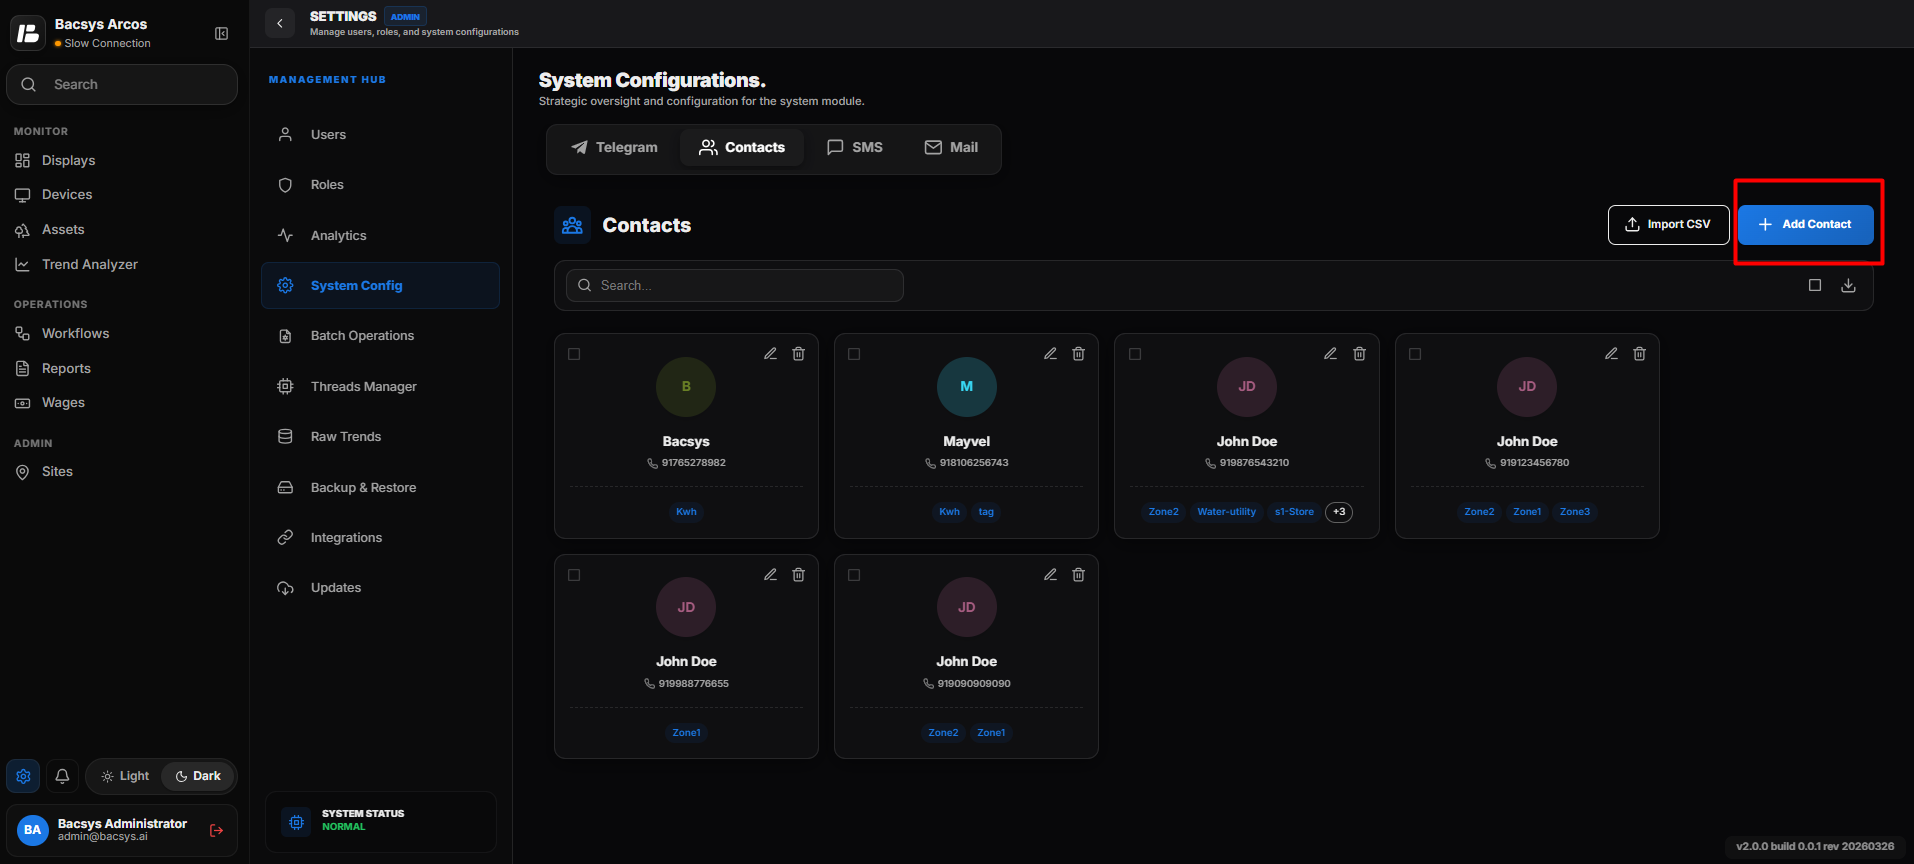
Add Contact
The Add Contact option allows users to create a new contact for alarm notifications.
Steps
- Click Add Contact.
- The Add Contact dialog box appears.
- Enter the Contact Name.
- Enter the Phone Number.
- Select one or more Tags.
- Click Create Contact.
The new contact is added successfully.
Note
The assigned Tags determine which alarm notifications the contact will receive.
Editing a Contact
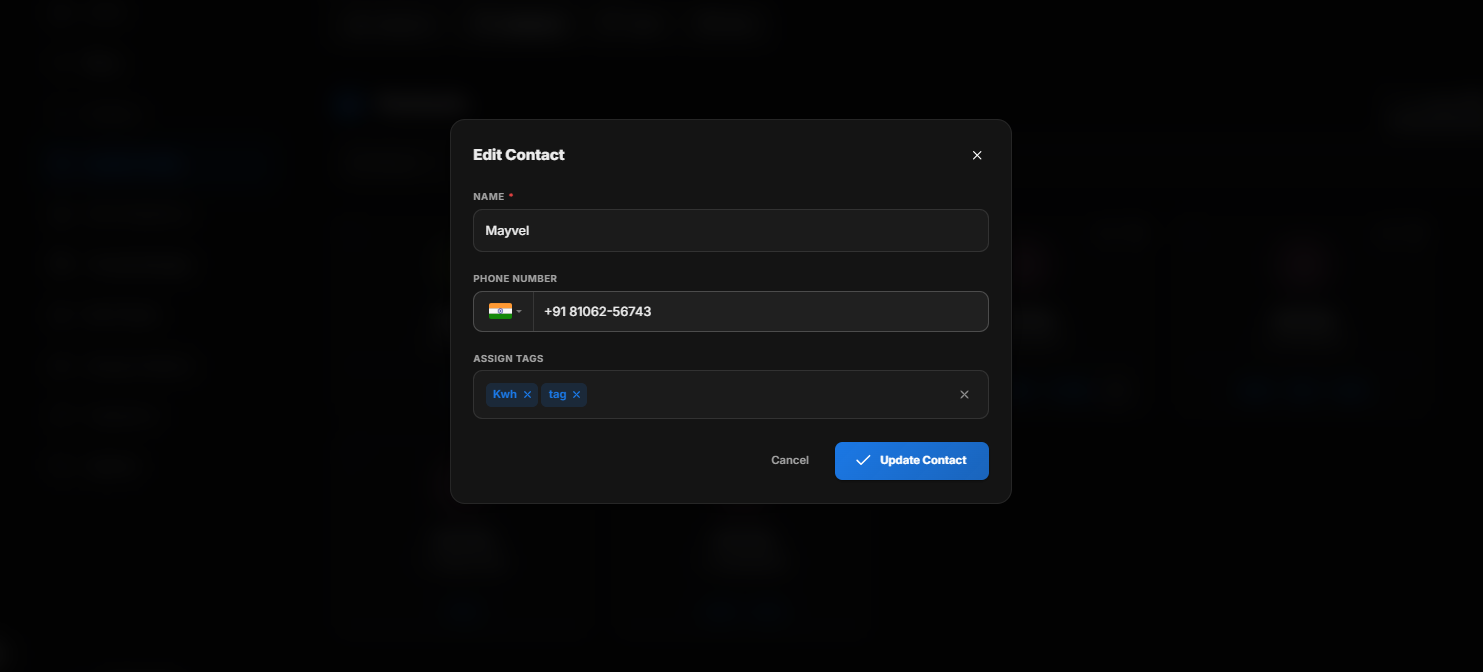
Edit Contact
The Edit Contact option allows users to modify an existing contact.
Steps
- Select the required contact.
- Click Edit.
- Update the Contact Name, Phone Number, or Tags as required.
- Click Update Contact.
The updated contact information is saved successfully.
Tag-Based Alarm Notifications
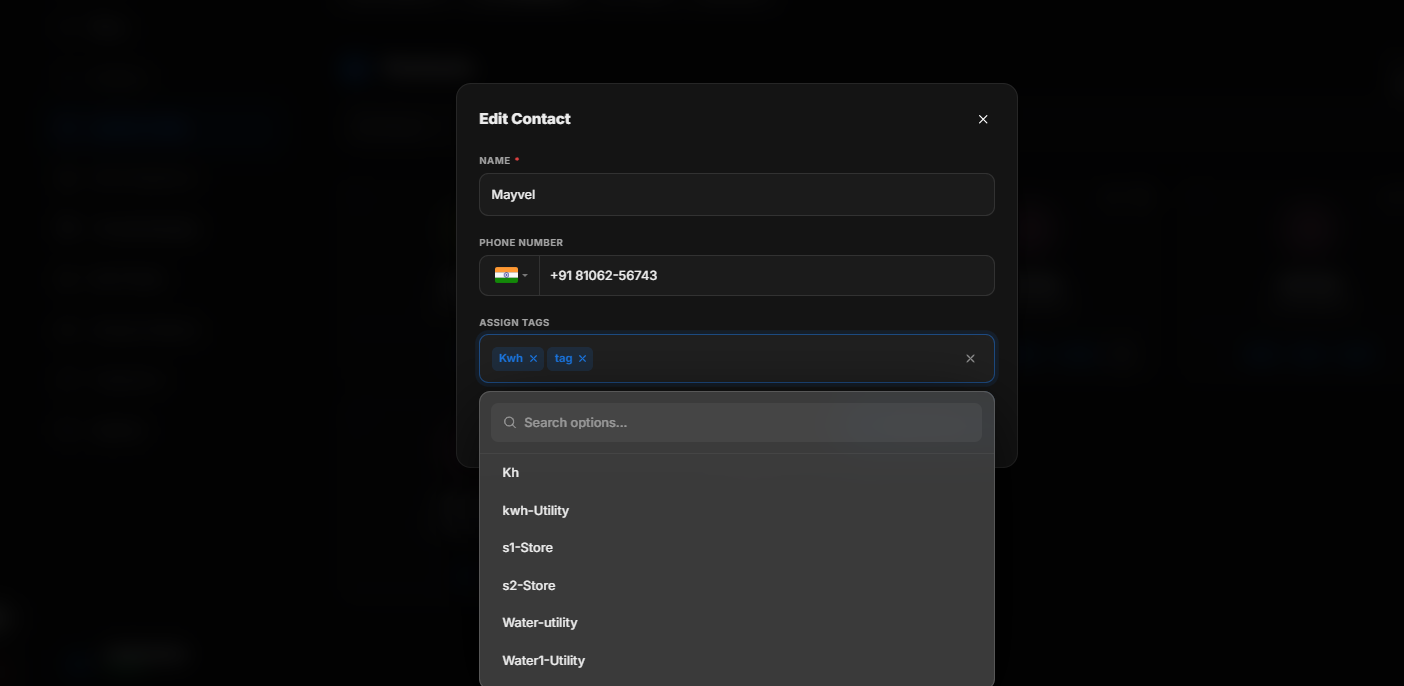
Tag-Based Alarm Notifications
The Tags assigned to a contact determine which alarm notifications are delivered to that contact.
How It Works
- Create a Tag in the Device module.
- Assign the tag to the required device or alarm.
- Create or edit a contact.
- Assign the same tag to the contact.
- Save the contact.
Whenever an alarm is generated for a device associated with that tag, the system automatically sends a notification to the contact's configured phone number.
Example
If a device is assigned the HVAC tag and a contact is also assigned the HVAC tag, any alarm generated by that device is automatically sent to the contact as a notification.
Select and Delete Contacts
Select Contacts
The Select option allows users to select one or more contacts for bulk operations, such as deleting multiple contacts at once.
Steps
- Click the Select button.
- All contacts in the list are selected automatically.
- If required, clear the checkboxes for the contacts that should not be included.
- Click Delete.
- Confirm the deletion when prompted.
The selected contacts are removed from the system.
Note
- By default, the Select option selects all available contacts.
- Users can manually deselect individual contacts before performing the delete operation.
- Deleting a contact permanently removes it from the contact list.